


Set the tomato root ball in a prepared hole and backfill with loose soil from the bed. Consider added fertilizer when the soil test, amendment history and site show a real need. Make that decision before digging all the holes. If the bed has already been prepared, a second dose under each root ball can concentrate fertilizer where the young roots need to establish. Start with the condition of the whole root zone and choose an application method that fits it.
Review the bed before digging planting holes
Identify the previous crop and check whether compost, manure or a mineral fertilizer went into the bed. Take separate samples where the soil or management clearly differs. A well-amended row and a recently filled edge may need different decisions. Keep the samples separate and ask the laboratory how it interprets the results for tomatoes. In a bed with a history of repeated applications, ask whether a salinity test is useful. Follow the guide to assessing garden soil before fertilizing for a practical sampling plan.
Where the result shows enough phosphorus, a routine high-phosphorus addition is unnecessary. Count earlier applications to the same ground before deciding what it needs now. Mark the part of the garden that has already been amended so you can distinguish it from the untreated part when planting starts. This matters when one person prepares the bed and another places the plants. A short written record prevents applying the same planned amount again in each hole.
After rain, check whether the soil crumbles rather than smearing on the spade. A sticky hole with standing water points to a site problem that needs attention before transplanting. On light soil, check below the surface: a dry crust or dusty top can hide a moister layer, while the original root ball can still dry out rapidly. In Ukraine, choose the working day according to local frost risk and bed conditions. Use the guide to planting tomatoes outdoors to check the timing separately.
Size the hole around the root ball
Set the pots out first. Consider the cultivar's growth habit, mature spread and training system before finalizing the positions. For a fuller layout, see the guide to choosing tomato spacing. Remove a rigid container carefully and support the root ball. Make a hole with enough space around the plug for backfill. If the plug is dry, moisten it thoroughly before planting. Water around a dry plug does not always wet its centre immediately.
A sturdy ungrafted tomato can be set with the top of the plug level with the soil, and a suitable stem can also be planted more deeply. Tomatoes can form additional roots on buried stem tissue. Keep the graft union of a grafted plant above the soil, where the scion cannot take root from a buried union. Check the plant tag if you are unsure whether it is grafted. Root condition and the depth of workable soil matter more than digging a standard-sized hole for every pot.
Backfill with soil from the bed. Firm it gently around the root ball and water the planting area. Check whether the ground settled evenly and add crumbly soil if watering opened a gap around the plug. Avoid stamping on wet ground. A moist, even contact between the plug and the surrounding bed helps the transition. A hard wall around the planting hole or a pocket of standing water needs separate attention.
Check where the first water went
Check both the edge of the original plug and the soil just outside it after watering. The outside can be moist while the plug itself remains dry. On a heavy bed the plug may be moist while water stays in a deeper pocket nearby. These call for different decisions. Compare plants at both ends of a slope before you change the amount of water for the entire row. If you use a fibre pot, check its directions and keep an exposed peat rim from drawing moisture away from the plug.
Choose amendments for the area that needs them
Mature compost belongs in the bed plan
Mature compost can be part of preparing a bed when its properties and the soil test support the use. Count the nutrients it contributes and distribute the chosen amount over the area used to calculate it. Filling only the bottom of a hole with a rich amendment leaves the surrounding soil unchanged. Where water moves slowly or the ground is compacted, deal with that broader condition first. Write down what you use so it is counted if you consider feeding again.
Avoid concentrated pockets next to young roots
A pile of concentrated fertilizer or fresh manure beside young roots can expose them to damaging salts. Choose one appropriate method rather than adding several handfuls by habit. If a product authorizes application in a planting hole, read the directions and the unit specified for that use. A rate per square metre applies to the treated area. It does not give the amount for an individual hole. When the soil needs preplant treatment over a bed, use the corresponding area instructions and measure the area actually treated.
Ask what an extra input would change
Wood ash can change soil pH and adds some mineral nutrients, with composition varying by material. Ask whether the bed needs a change in pH and whether the specific material is suitable for the whole area. Where the soil is already suitable for tomatoes, spend the time on preparing the bed and getting an even watering pattern. Keep inputs with a different purpose, such as pH adjustment, separate from your decision about a fertilizer for young roots.
Decide what to do on two contrasting beds
Imagine the first bed was prepared from a soil report, the amendment is already mixed through the working area and the soil is workable after rain. Dig a hole that fits each root ball, transplant, backfill and water. In a second bed, you cannot confirm earlier applications and water collects at the far end. Mark the wet and well-drained sections, improve drainage where possible, and sample distinct areas before deciding on the inputs. The same tomato cultivar can go into both beds once conditions allow. Its nutrient needs still have to be judged against each soil.
Record the planting day, soil condition and any material applied. If leaves look less firm in the first days, check the plug and the neighbouring soil before assuming there is a deficiency. Observe whether growth resumes. For a separate decision on the first application after establishment, see the guide to the first tomato feeding after transplanting. For later stages, read the guide to feeding tomatoes after planting.
Preplant fertilizer for a bed with a verified need
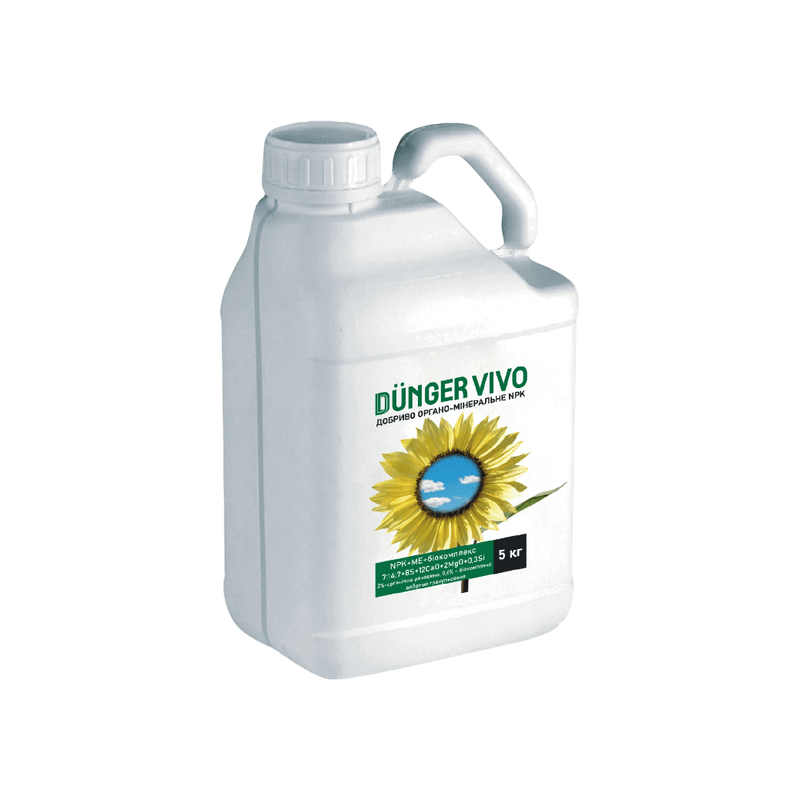
Organic-mineral fertilizer “DÜNGER VIVO” granulated
DÜNGER VIVO lists tomatoes in its vegetable application row. Consider it only where the soil result supports the composition, and follow the area-based method for the bed. Keep the area method separate from any method for a planting hole. Include nutrients from other materials you have already used in the bed.
The product comes in a 5 kg pack. Read the tomato group instructions and measure the area that actually needs preparation before ordering.
Frequently asked questions
Yes. On a prepared bed, put the plant at the appropriate depth, backfill to make contact with the root ball and water. Use a soil result and earlier applications to judge whether a new amendment is needed.
Use the rate with its stated application method and unit. A dose intended for an entire area cannot be treated as a dose for a single plant. Check for explicit directions for planting holes if that is the method you intend to use.
Investigate drainage, compaction and low spots. Move the planting point or wait until the conditions have been addressed. A fertilizer placed in the hole will not improve a persistent drainage problem.


