


Water outdoor tomatoes when the soil where the active roots grow is drying and rain has not supplied enough moisture. The interval changes with the weather, soil and stage of growth. A sandy bed during a heat wave needs checking sooner than a heavier mulched bed after rain. Checking more often does not mean watering more often. If the root zone is still moist, wait.
How to check moisture around the roots
Pull the mulch back and use a narrow trowel to open a small inspection point to one side of the plant, away from the base of the stem. See where dry soil gives way to damp soil. Try several spots: the middle of the row, an exposed edge and a place where water usually lingers. A damp surface can hide dry soil underneath, while a pale crust can sit over plenty of moisture. Replace the soil when you finish.
On an established bed, aim to wet the soil around the roots rather than making a small wet patch at each stem. After the next watering, let the water soak in and check the depth and width of the wet area. If the wetting is shallow, check whether you can deliver water more slowly. If it starts to puddle, stop, let it soak in and see whether a further short pass is needed. Persistent standing water calls for a closer look at drainage and compaction.
These checks are for a bed where the plants are established and have started growing after transplanting. Newly set plants still have most of their roots inside the original ball. Check the ball and nearby soil separately at that stage. See how to transplant tomatoes outdoors for that part of the season. Indoor seedlings and pots hold a different volume of soil and need their own routine.
Why some beds dry sooner than others
Sandy ground, wind and sun
Sandy soil lets water through quickly and generally holds less water for plants than soil with a higher proportion of fine particles. In an exposed garden in southern Ukraine, wind and heat can shorten the time between checks. If the outer row is dry and the middle is still moist, water the dry zone. Watering the whole bed for longer in response to one dry strip can move water past the roots where the soil is already moist.
Heavier soil, low ground and heavy rain
Water may enter clay soil slowly, particularly if it has been compacted. After sustained rain, a low spot or a section receiving runoff from a roof can stay wet longer than a nearby rise. Check both before turning on irrigation for the whole garden. Saturated soil leaves the roots with less access to air. Additional water can prolong the problem. Find where the water is coming from and whether it has somewhere to drain.
Organic mulch reduces evaporation at the soil surface, but dry areas can still develop underneath. Compare the soil itself rather than the colour of the straw. When you first mulch, check how long the bed now stays moist between waterings. If water reaches different parts of the bed unevenly, start by assessing soil texture and moisture.
Adjust watering through flowering and fruiting
During flowering, fruit set and fruit growth, aim for even moisture. During a hot week, inspect the bed sooner so it does not dry out before the next check. During cloudy, cool weather there may be more time between waterings. After a storm, check the soil before letting a timer restart its routine. Rain can soak a bed, but some water may run down a slope or miss a sheltered strip.
Fluctuations in moisture can contribute to fruit cracking and blossom end rot. A dark patch on the end opposite the stem does not prove the soil is short of calcium. Consider irrigation, heat, root condition and earlier feeding when investigating it. If a storm follows a dry stretch, do not try to even things out with extra water that day. Check what has happened below the surface.
On a plant with new flowers and green fruit of several sizes, keep checking soil moisture after the first ripe fruit comes off. In a different bed where the main harvest has ended and the weather has cooled, water may be used more slowly. Fruit load and leaf condition help you judge the stage, and soil moisture confirms the watering decision. Keep a steady approach rather than withholding water for sweeter fruit or making up a long dry stretch with one large soaking.
How to get water to the roots
- Where possible, direct a moderate flow onto the soil. A strong stream erodes the surface and splashes soil onto the leaves.
- Check several outlets on a drip line. If one plant is dry, see whether its outlet works and whether the wetting reaches its roots.
- Slow the flow on a slope or heavy soil if water starts to puddle or run between the rows.
- After it soaks in, compare two different spots. Before watering again, check how long they stayed moist.
In the morning you can see whether a plant has recovered from the previous day's heat. Brief afternoon wilting alone is not a reason to add water. If the soil is moist and the plant still wilts in the morning, check drainage, root condition and other signs of damage. When watering at soil level, choose a time when you can watch it soak in. If leaves are getting wet, morning gives them more time to dry. If the soil is already dry and the plant is wilting, do not wait for morning just to water at the usual hour. Direct water onto the soil that needs it.
Compare two places before changing the timer
Suppose a row runs down a slope. After a usual watering the lower soil is wet through the root zone, but the upper end is only damp on the surface. Before lengthening the run for the whole row, see whether the upper emitters are releasing water. Look for hose kinks or runoff away from where water enters. If distribution is the problem, a longer run can wet the lower end further without helping the upper plants. Check whether the line needs attention or the dry strip needs watering separately.
Another example is a brief storm that darkens bare paths while soil under the straw stays dry in one part of the bed. Check how much of the root area was actually wetted and water only the dry strip if needed. Note the last rain, the condition below mulch and where you checked. Compare your observations in similar weather. The record helps you adjust the time between checks separately from the duration of the water supply.
Decide on nutrients separately. Use the guide to feeding established outdoor tomatoes for plants in active growth. For younger transplants, see how to judge rooting before first feeding. Make sure the bed gets an even supply of water first. Fertilizer cannot unblock an emitter or restore air to waterlogged roots.
Separate feeding for established tomatoes
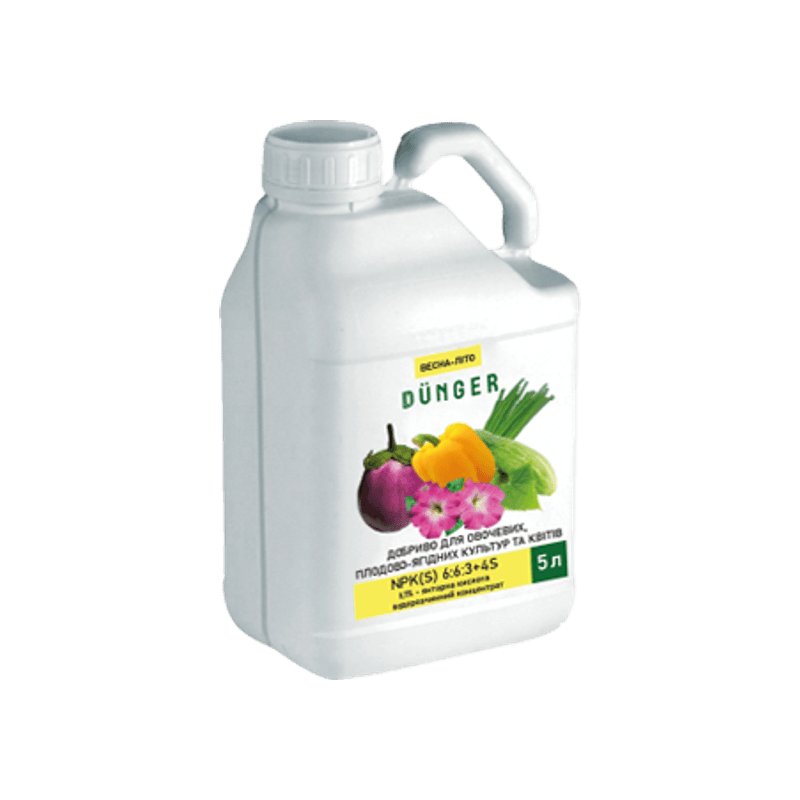
Complex fertilizer for vegetables, fruit and berry crops, and flowers
If established tomatoes are growing and there is a confirmed nutrient need, consider this liquid DÜNGER concentrate. Use the root feeding row for vegetables. The solution volume applies to that feeding. Plan ordinary irrigation from soil moisture.
The canister holds 5 L. Count only the plants scheduled for feeding and check the full directions, pack photo and price on the product page.
Frequently asked questions
Daily checks can be useful in hot, windy weather and on sandy ground. Base watering on moisture around the roots. If the soil there is still moist, high temperatures alone are not a reason to add water.
Check several places beneath the plants. If rain dampened the surface while the root zone stayed dry, water the affected part. If rain soaked the root zone, skip the scheduled run.
Check the position and appearance of the spot and review recent moisture changes. Blossom end rot can occur even when soil has enough calcium. Choose a nutrient application only after checking the actual need.


