


Choose tomato spacing to suit the full-grown plants and the supports you intend to use. A low bush tomato, a tall variety trained to one stem and a plant in a wide cage all need different amounts of space. Before you mark the bed, check the variety’s growth habit, choose how you will support it and make sure you can still carry a bucket or a crate between mature rows. Seedlings in small pots can give a misleading impression of how many plants the bed will hold.
Identify the type of tomato you are planting
Determinate varieties and hybrids
Determinate tomatoes stop extending their main shoots after forming flower clusters and tend to produce most of the harvest within a shorter period. A short bush can still be broad. Check the description of the variety, especially if it branches strongly from the sides. Tie the branches or install support if the weight of fruit draws them toward the ground. Leave enough room to reach the side shoots that will carry fruit.
Indeterminate varieties
These plants keep extending their stems and forming new flower clusters as long as growing conditions allow. You can train them to a stake or string, grow them in cages or allow them to sprawl. If you plan two stems on a trellis, mark a place for each one. If you put two plants at a spacing designed for single stems, then add a second stem to each plant, the row will become denser than you planned.
Starting distances for an open bed
For compact determinate tomatoes on individual supports, a useful starting point is about 60 to 75 cm within the row and around 1.2 m from one row center to the next. For indeterminate plants trained narrowly to a stake, begin with roughly 45 to 60 cm in the row. Large cages may need about 75 to 90 cm between plants. Sprawling indeterminate plants may need roughly 90 to 120 cm. These figures are starting points for the named systems. Adjust them for the variety, size of the supports and location.
A mixed row does not have to use identical spacing all the way along. Mark the tall or wide plants first and then fit the compact ones around them. If the end plant is beside a fence, check where you will stand when picking ripe fruit and which side you will use for tying. A damp low spot or a bed next to a solid fence makes plant access and avoiding crowding especially important. On an exposed site, choose a steady support before you mark the planting spots.
The width of the walking path differs from the row spacing. If rows are 1.2 m apart from center to center and each row projects 30 cm into the path, about 60 cm remains. Check it with string and stakes and walk the planned route holding a watering can. See if you can avoid stepping into the watering strip. It is much easier to move the markers before planting than to maneuver around an interlocking canopy in summer.
Lay out a greenhouse or plastic tunnel
Measure the space at the height where shoots and fruit clusters will sit. Along a sloped sidewall, the usable width can be smaller above the ground. Mark the doors, places where you need to open vents and access routes. If you cannot put a path on one side of a narrow tunnel, plant only as many rows as you can reach easily without leaning on the plants.
Greenhouse vines are often trained vertically to one or two stems. Draw each support line. Staggered positions may work on a broad bed if you can still reach both lines. Staggering does not give you additional space. Check where the tops will grow, where you will run the drip line and whether the adult plants will block the way in from the door. In a small greenhouse, one row along the side is sometimes easier to manage than two cramped rows.
Count how many plants will fit in a row
- Subtract the room you need to leave at either end from the full length.
- Mark the first and last planting spots. Measure from center to center instead of using the edges of pots or holes.
- Count how many full intervals fit between the marks and add one planting position.
- Check each row separately, especially where doors, supports or water containers take up room.
For example, a 3 m bed with 30 cm left at both ends gives 2.4 m between the first and last marks. At 60 cm spacing, that gives four intervals and five plants. If the variety needs 75 cm, three full intervals fit and there is room for four plants. Avoid narrowing the spacing to use every seedling. Extra plants can go into another suitable bed.
For a second check, draw the center lines of two rows on a wide bed. Mark where the cages and leaves will extend into the aisle. Even with the right spacing along the row, two big cages may not fit across the bed. Equally, if the supports already fill the aisle, reducing the number of plants along the row does not clear the path. Move the row center or use a different support.
Adapt the layout to your garden in Ukraine
In an exposed steppe garden, look at the prevailing wind, whether water reaches the end of the row and where a trellis can be anchored. In a damp bed beside a fence, leave room to inspect the leaves on both sides. On a sloping site, check where you can carry crates into the greenhouse without crossing the hose. Set up one support, sketch the mature plant and repeat the layout only where the conditions match.
What to do if the plants are already crowded
Early in the season, check whether you can tie the shoots without bending them sharply. Move the support if it takes up the path. Train the plants to suit their growth habit. Heavy removal of side shoots on determinate tomatoes can take away productive branches. Once the plants are mature, restore access to the water, fruit and leaves so you can care for the crop. Mark the spots that need more space next season.
Spacing and readiness for transplanting are separate decisions. Once the layout is set, check when to transplant tomato seedlings based on frost risk and your site. As you prepare the bed, consult the guide to checking garden soil before fertilizing. If the plants are pale or slow in a crowded part of the garden, check water, roots and shade from the neighboring plants before deciding how to help them.
Feeding after checking the bed
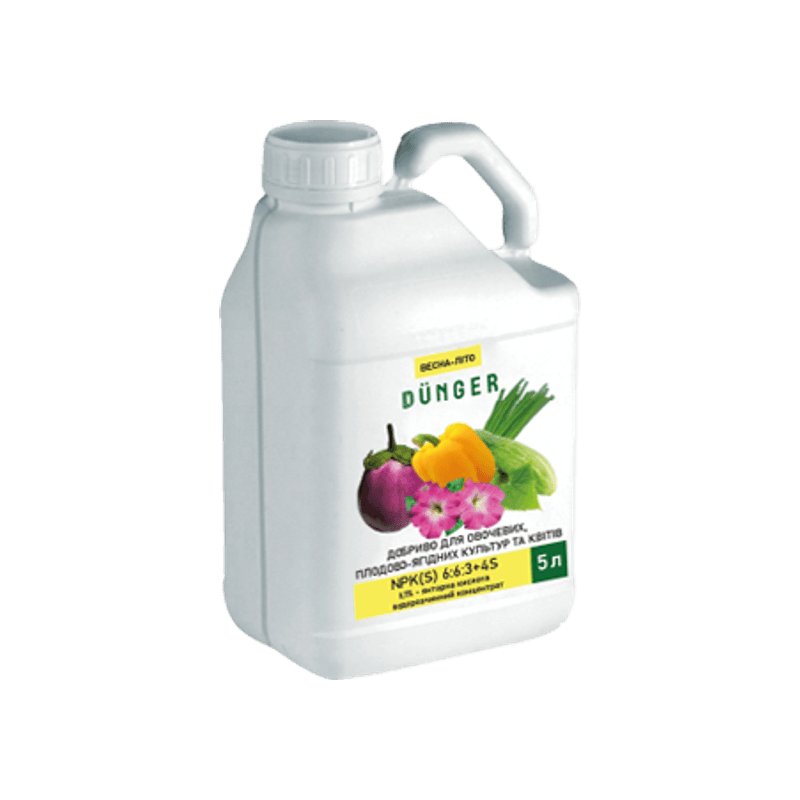
Complex fertilizer for vegetables, fruit and berry crops, and flowers
If soil tests or the condition of the plants show a need for feeding, consider the DÜNGER liquid complex for vegetables. The directions give separate rows for seedlings and established plants, and for different application methods. Use the row for the stage of your tomatoes and your intended method. The planting layout tells you how many plants the row holds. It does not establish how many of them need feeding.
The 5 L pack contains concentrate. Before buying, confirm how many plants you intend to treat, where they are in the bed and which directions apply. For root feeding of established vegetables, for example, the directions distinguish between mixing the solution and the amount of solution used per plant.
Frequently asked questions
For a standard layout, mark a position for each plant. Two in one spot still need enough room and support for all of their stems. If you want to grow with two leaders, work them into the training system you chose instead of doubling up the plants wherever there is a hole.
Lay out the supports or mark them with string, allow for the leaves and try walking through with a watering can or crate. If you have to push the branches aside or step into the planted strip, adjust the plan before transplanting.
Start by checking the soil and how the seedlings establish. Select fertilizer on the basis of a confirmed need and the directions for that crop stage. Suitable spacing gives you room to work, and the plant’s feeding needs depend on the growing conditions.


