


Move peppers into open ground when the seedlings, bed and weather are ready together. A large plant on a windowsill does not mean outdoor conditions are safe. One warm afternoon also says little about soil warmth or the coming night. Make the decision from several checks rather than a single calendar date.
Peppers need protection from frost and prolonged cold conditions. Rushing can delay development instead of giving the early start you hoped for. Prepare the site, check the forecast and gradually introduce the plants to outdoor conditions. Planting day should complete that preparation rather than mark its beginning.
Why one planting date cannot cover Ukraine
Southern and northern regions, foothills and sites with different terrain warm at different rates. An exposed bed and a sheltered area beside a building also differ. A date borrowed from another garden cannot replace checking your own site, especially after an unsettled spring with renewed cold.
Look at the coming overnight forecast, not just the daytime maximum. Check soil separately with a thermometer in the future root zone. Pepper is a warm-season crop; cold soil restricts development even when afternoon air feels pleasant. A hot surface reading alone does not establish that the ground is ready for roots.
Compare repeated readings taken under similar conditions. Assess a shaded, damp corner separately from the rest of the bed. There is no need to transplant every plant on one day simply to complete the row. This seasonal guidance concerns preparation for warm growing conditions, not planting outside during autumn cooling.
Inspect the seedlings before making a commitment
Look at stems, leaves and root balls. Select healthy plants without obvious injury or signs of decay. A long, stretched stem is not an advantage. Do not try to compensate for weak growth by burying pepper stems deeply using a technique intended for another crop.
Carefully check whether the root ball holds together when released from its container. The aim is to move it intact, not remove every trace of growing medium from the roots. If a plant is badly confined in a small pot, recognize that before planting day. Do not leave all preparation until plants are waiting beside open holes.
The separate guide to feeding pepper seedlings addresses earlier nutrition questions. Another fertilizer dose cannot replace hardening or suitable weather, however. Even a well-grown indoor plant needs a gradual transition to its new environment. Appearance in the room does not demonstrate readiness for outdoor wind and sun.
Introduce outdoor conditions gradually
Start with short periods in a sheltered position without sudden strong sun or wind. Increase time outdoors and exposure gradually while watching plant condition. Moving plants straight from a room to an open bed for an entire day is not the same as a staged hardening process.
Preparation requires a period of adaptation rather than one visit to the garden. If conditions deteriorate, return the plants to protection and adjust the next step. Do not leave warmth-loving seedlings outside through a cold night simply because they have already spent several afternoons outdoors.
Watch moisture in small pots. Sun and wind can change their water balance more quickly than indoor conditions. Hardening is about adjustment, not deliberately making plants wilt severely. Put trays on a stable surface so a gust cannot overturn containers and break stems. Keep the labels with the plants as you move them.
Prepare the bed before opening pots
Choose a sufficiently sunny site with good drainage. After rain, check whether water remains standing along the planned row. If the ground is sticky and saturated, deal with the site condition first. Water in a planting hole should not become the permanent environment surrounding the root ball.
Plan spacing from the cultivar's characteristics and expected mature size. Allow access for watering, inspection and harvest. Do not use one arrangement for both compact and tall peppers merely because they currently look similar in seedling pots. Mark the row and stand pots in their proposed positions to check the layout.
Review earlier soil preparation before adding anything else. Compost and base fertilizer count toward the overall nutrient plan. The guide to choosing soil for seedlings helps distinguish the needs of a small container from open garden soil. Keep that difference in mind when comparing the root ball with its new surroundings.
A practical transplanting sequence
A calm, cloudy spell or the later part of the day without strong heat is convenient for the work. This does not remove the need for warm conditions and freedom from frost risk. Water seedlings beforehand so the root ball is moist and cohesive without becoming a collapsing, saturated mass.
- Prepare a hole that accommodates the root ball.
- Support the root ball and gently release the plant from its container.
- Do not pull on the stem or shake the roots clean.
- Place the plant at the same soil level it had in the pot.
- Fill around the root ball and firm gently.
- Water after planting, watching how water enters the soil.
- Label the cultivar and check that the plant is stable.
Do not leave unpotted plants lying in sunshine while you dig the rest of the row. Work in manageable batches. If a container will not release the root ball, loosen its contact with the sides before trying again. Preserving roots matters more than finishing the entire bed as quickly as possible.
Fertilizer for a planned planting application
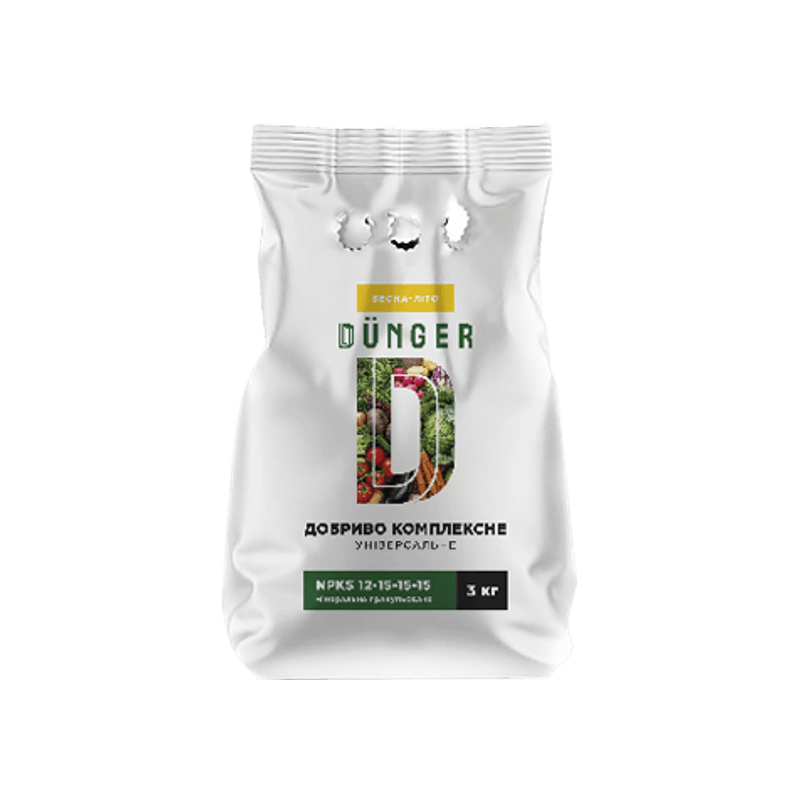
Complex fertilizer universal granular
This universal complex covers vegetable crops including peppers. First assess previous bed preparation. Distinguish planting holes for seedlings from rows for sowing seed; these are separate uses, not compulsory consecutive steps.
Apply fertilizer before sowing or planting, as well as for feeding. Fertilizer is evenly distributed in the aisles or over the soil surface, applied to rows (when sowing seeds - 2/3 g / running meter of a row) or planting holes (for seedlings up to 3g / plant).
Use My Garden for crop, plant count, zone measurements and purchase planning. Keep dates and previous inputs in your own journal. Choose a pack against the calculated need and check its product page.
The first days after planting
Check moisture close to the root ball and inspect plant condition. Watering on planting day does not provide an identical reserve in every soil or weather pattern. Equally, a continuously wet surface is not the goal. Base the next watering on actual moisture rather than a wish to do something for the new plants every day.
Provide protection from abrupt wind where needed and keep checking the forecast. Temporary covers require monitoring and ventilation when conditions beneath them become too warm. No unspecified covering material guarantees protection from every frost. If cold returns, assess what the actual protection can do for that particular bed.
Record dates and observations in your own journal. Once growth resumes, consider feeding peppers after transplanting as a separate decision that accounts for initial inputs. A plant looking weak the following morning does not, on its own, justify another product application.
Keep cultivar labels in place and compare like plants. If one group was transplanted later, retain that distinction in your records. This helps relate establishment to actual conditions without attributing every difference to one fertilizer or one watering event. Useful observations are specific enough to check again.
When postponement makes sense
- The forecast again indicates frost risk or sustained cold.
- The bed remains cold and waterlogged.
- Seedlings have not yet adapted to outdoor sun and wind.
- You cannot preserve root balls or provide watering after planting.
- Plant condition raises concerns that need a separate inspection.
Frequently asked questions
No. Check overnight conditions, soil and the seedlings themselves. Daytime warmth does not guarantee a safe night. Make the final decision for your site rather than relying only on a broad forecast for the nearest large town. A local sheltered or exposed position still matters.
For the method described here, maintain the level at which the pepper grew in its pot. Do not transfer deep-planting techniques from another crop. Use the top of the root ball and previous soil line as your reference, preserving the roots while positioning the plant.
That can be practical where conditions and readiness are similar. Colder sections of the garden, uneven hardening or limited time for watering are reasons to split the work. Do not leave exposed roots waiting while you prepare a large batch of planting holes.
Count plants and measure the growing area. Match the application route to previous soil nutrition and the product instructions. Do not add a bed-wide rate and a planting-hole rate together without a separately justified plan. Different methods should not become an automatic double application.


