


Lift winter-planted bulb onions once most of the healthy plants have naturally fallen over and started to dry, the neck just above the bulb has narrowed, and the outer scales are beginning to turn papery. Autumn-planted onions often reach that stage before spring plantings. Look at several bulbs and the weather forecast before deciding when to harvest. Then separate the onions you can cure and store from sound but less durable ones that you will use first.
How to tell whether a fallen onion is actually mature
At natural maturity, the leaves stop extending, soften, bend near the neck and gradually dry. One broken plant, a flattened strip or one patch of yellow leaves says little about the rest of the bed. After a storm, heavy wet leaves can lie flat while the neck at the bulb is still thick and green. Leave the foliage alone rather than pressing it down to make the rows look even. Damaging green tissue makes a useful maturity cue harder to read and opens wounds.
Next, loosen a few representative onions. A normally ripening plant should have a developed, firm bulb with a narrowing neck and outer scales starting to feel dry. When fresh leaves still emerge from a juicy neck and the wet skin strips easily, let the sound plant keep growing until the next check. An unusually soft bulb, a dark wet patch, a slippery neck or an unpleasant smell is a separate sorting issue. Keep suspect bulbs away from those you are preparing for storage.
What a flower stalk changes
A stiff flower stalk with a developing head is easy to distinguish from the ordinary hollow leaves once you compare two plants side by side. Set bolted onions aside from the longest-storing batch. If an onion is firm with no mould or spoilage, use it early. For the next crop, check which cultivar is meant to overwinter and check the supplier's set sizes. The guide on when to plant winter onions explains that earlier stage. Keep the cultivar labels so you can compare onions from the same batch the following season.
Choose a harvest day for your own bed
On a sunny raised bed in a warm part of the Ukrainian steppe, the soil surface may dry quickly after rain. Lower plots in Polissia or in a humid foothill garden may stay sticky for longer, particularly where the ground is heavy. Even in one garden, a row beside a paved path and a row behind a hedge may ripen differently. Observe how spring progressed, what the cultivar normally does and what the plants look like now. Two rounds of lifting make sense where parts of a bed are clearly at different stages.
When the necks have narrowed, most tops are drying and the ground crumbles, use a dry spell. If soil sticks firmly after several wet days, inspect the plants and, where their condition permits, wait for a surface you can work without dragging wet soil across the skins. If a mature part of the bed is ready and sustained rain is coming, lift that batch while you have shelter and immediately spread it under cover with airflow. Keep the wettest and most doubtful bulbs apart so the driest ones do not end up under damp onions.
Watering as the crop ripens
Check root-zone moisture during active leaf growth and bulb enlargement. As necks start to narrow and the leaves naturally go down, reassess scheduled watering based on what is already in the soil. If the plants wilt in hot weather but still have green necks and enlarging bulbs, check moisture and plant condition before either lifting them or withholding water. For the earlier phase next season, use the spring feeding plan for overwintered onions when deciding whether plants that have resumed active growth need supplemental nutrition.
Lift without bruising and cure the bulbs under cover
- Loosen from the side. Work a fork beneath the soil beside the row. Support the bulb and release it without pulling hard on the neck.
- Keep the wrapper scales intact. Let loose soil fall away. Let sticky clumps dry rather than striking two bulbs together or peeling off wet scales.
- Spread the crop in one layer. Leave the tops attached on a dry, clean surface where air moves. Protect the bulbs from rain and give each batch room.
- Use dryness as the test. The neck should be dry and tight, the tops dry, and the outer scales papery. If a damp night leaves the necks moist again, allow more ventilation and time.
A dry shed with ventilation, a covered veranda or another sheltered space can work. Check that driving rain cannot reach the trays and that condensation does not drip onto the bulbs. Avoid leaving the crop exposed under fierce sun. If you have two cultivars, use separate trays or label each part of the drying surface. Spread larger, slower-drying bulbs where you can check their necks easily. Inspect any dark or wet patches that develop instead of assuming they will disappear as the rest of the tray dries.
Trim dry tops only after curing if you want to store onions in a crate. Leave a short, dry neck above the bulb. Keep sufficient dried foliage attached if you are making a braid. Separate a newly bruised but otherwise firm, sound onion for prompt use. Remove bulbs with mould, slime or wet, soft flesh from the harvest. Check the neighbours where a spoiled bulb sat, particularly if it left moisture on the drying surface.
Store the dry batch and use the rest first
A mesh bag, shallow vented crate or open basket lets air circulate and makes it easier to inspect individual bulbs. Choose a cool, dry, frost-free location. Move the batch if the garage may freeze or the storage space starts to show condensation. Avoid sealing freshly cured onions in plastic or piling them in a deep layer. Check them periodically and take out anything soft or visibly deteriorating. If several sound bulbs have become damp in storage, inspect the entire batch and move them to a drier surface with more air.
Keeping time depends on both cultivar and condition. Some winter-planted varieties are intended for a fresh early harvest. Where the supplier does not describe the cultivar as a good keeper, plan to use it earlier. Save your longest-storing space for sound, firm, dry bulbs from cultivars suited to that purpose. A batch sorted before storage is easier to manage than a mixed sack with bulbs of very different quality.
After the row has been lifted
Remove damaged debris and take a look at the bed's drainage. If you are using the space for another vegetable, choose one whose season and needs fit the time and conditions you have left. Keep a garden notebook with the original variety and the part of the bed that finished first. Compare it with the condition of the cured onions as you use them. That record can inform your planting next time even when the weather shifts.
Vegetable feed for the next active crop
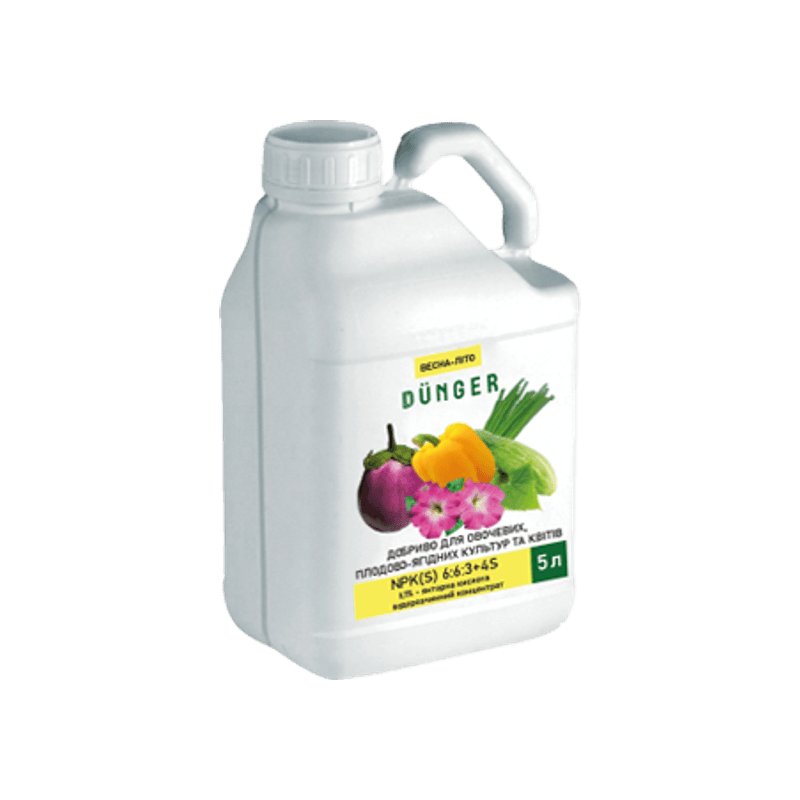
Complex fertilizer for vegetables, fruit and berry crops, and flowers
Once the bed is clear, assess the next vegetable crop. If established, actively growing plants have a demonstrated feeding need, consider this liquid DÜNGER concentrate and check the vegetable root-feeding instructions. Leave ripening, curing and stored onion bulbs out of the feeding plan.
The canister contains 5 L of concentrate. Measure the bed, identify the next crop and count the plants before you check the directions and decide how many packs you need.
Frequently asked questions
Check a few representative bulbs. Developed bulbs with a narrowing neck and naturally falling foliage can be lifted separately in dry conditions. Sound plants with thick, juicy necks and continuing leaf growth usually warrant another check before lifting.
When they are going into storage, allow the skin and any adhering soil to dry, then gently remove loose dirt. Keep the wrapper scales intact. Clean a sound onion for immediate cooking away from the batch still curing.
Store them separately and use them sooner than the dry, thin-necked bulbs. Before cooking, look for slime, soft patches, mould or an off smell. Remove bulbs that show spoilage from the rest of the harvest and discard them.


