


Spring and early autumn are useful times to plant clematis outdoors. Look for workable soil and a period when the roots can settle before persistent cold or heat. Delay if the ground is frozen, waterlogged or very dry. A container-grown plant gives you more flexibility, but the roots still need air, water and protection. Check the clematis group, the root ball and the space beside the future support before choosing a day.
Choose between spring, autumn and summer
Spring after the ground has thawed
Wait until the soil is workable and you do not need to break through frozen ground. Check the forecast if a container plant already has soft shoots. Let a plant raised under cover gradually get used to outdoor light, wind and cool nights. If frost is forecast, keep the pot in a bright, sheltered position and check its moisture. The condition of the soil and plant matters more than the date.
Early autumn with access to water
After summer heat, moist ground that drains freely can be suitable. Check how much time you have before persistent frost and whether you can water in the absence of rain. On a site in the Ukrainian foothills that cools early, spring may be a better option for a weak plant. If the site floods in autumn, wait or choose a better-drained position.
Summer if you already have the plant
You can plant a container-grown clematis in summer if you can water it and prevent sharp heat stress. On an exposed site in Ukraine’s steppe or beside a hot wall, look for a milder spell. Do not leave a small pot in direct midday sun while it waits. Check the mix in the pot because it can dry at a different rate from the ground next to it. If several hot days are ahead and nobody can water, give the pot shelter until you can care for it.
Inspect the roots and label
A well-rooted container plant generally has a ball that holds together when you remove the pot gently. Check drainage holes, moisture and how the nursery support is fastened. If it is fixed to the container, release the fastening before taking the plant out. Avoid pulling the stem. A very young plant that has not filled its mix can be damaged easily. If the outdoor site is unsuitable for now, grow it on in a freely draining container with support and regular moisture checks.
For a bare-root plant, follow the nursery’s instructions for holding and planting. Prepare the site and support before unpacking so the roots do not sit exposed to sun or wind. If you cannot plant yet, ask the supplier about short-term storage. Avoid keeping the package in a heated room or soaking the roots while you wait.
Planting depth depends on the group. For many large-flowered hybrids the top of the root ball goes lower than it sat in the pot. Some species, evergreens and herbaceous clematis are planted more shallowly. Confirm the group and nursery directions before backfilling. If the label is missing, identify the group first. Deeper planting will not compensate for poor drainage or a weak root system.
Measure from the future soil surface to the top of the root ball. Many summer-flowering large-flowered hybrids can go about 5 to 7.5 cm below that surface if their directions agree. Lay a straight stick across the hole to check. Follow the separate directions for shallower-planted groups.
Find a spot with support, light and moisture
Most climbing garden clematis grow in sun or light shade if the root area does not dry out. Think about mature height, wind and access to shoots. Choose a firm support with thin bars or mesh the plant can grasp. Beside a wall, set the plant away from the foundation and from water falling off the roof. Check after rain, as the ground under the overhang may stay dry while the outer edge gets too much runoff.
On heavy ground where water stays, do not expect material in the bottom of a single hole to solve the problem. Look at the wider bed or choose somewhere the water can drain. On sandy ground, check that you can maintain moisture as roots grow beyond the original ball. For help comparing places, see how to assess garden soil.
Plant and check the clematis after watering
- Moisten a dry root ball and let the excess water drain away.
- Make the hole to the appropriate depth and ease the container off.
- Backfill, water, check the root-ball position and guide the shoots toward the support.
- Mulch if needed, leaving the stems clear so you can inspect them.
Return after the next rain or watering. See whether the soil settled in a way that brings water to the stem. Tie the stem loosely and compare moisture inside and outside the old root ball during establishment. See seasonal clematis care for the next steps. If you grew your own plant by layering, check how to tell when a clematis layer has roots of its own.
Three situations when it is worth waiting
A new plant arrives from a greenhouse with soft leaves and the forecast calls for frost. Give the pot bright shelter and check moisture. When conditions improve, introduce it to the outdoors gradually. A young shoot may need protection even where mature plants of the same cultivar spend the winter outside.
A south-facing brick wall heats up in summer, and the base of the wall stays dry even when the pot is moist. Try a spot farther from the wall. Check whether you can guide the plant to the support and reach it for watering. If a strong stream comes off the roof during heavy rain, keep the plant clear of that strip.
A low bed stays wet after several autumn rains. Compare it with a nearby spot before planting. It is easier to prepare a drained site with support now than to move a new plant once its roots start growing. If cold is close, ask the nursery how to hold the plant until conditions are suitable.
Keep a few notes for establishment
Save the label, record the position and depth, and take a photograph. After watering, note which part dries first. Check whether a shoot has reached the finer part of the support and whether the tie is cutting in. If one stem wilts and others look fine, check it for a bend or damage before adjusting the water for the whole plant.
Feeding the flower bed when clematis needs it
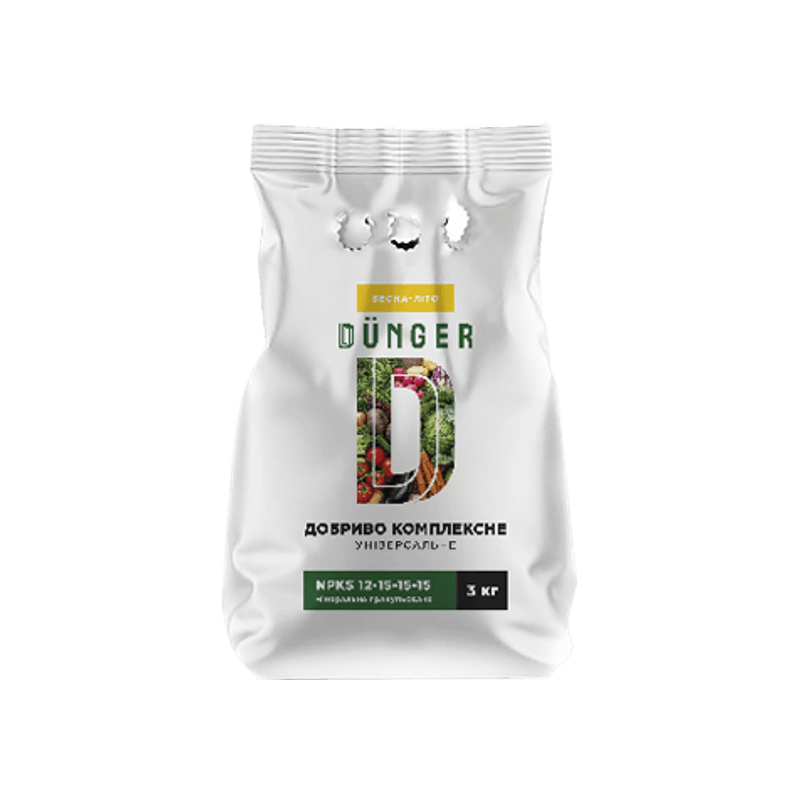
Complex fertilizer universal granular
Once the clematis is established, consider the DÜNGER universal granules if a soil test shows a need for the nutrients in the formulation. The directions list a separate floral and decorative group. Compare that row with your flower bed and confirm a suitable application method. Rates for seed rows and vegetable seedling holes do not apply to a clematis root ball.
Compare the 3, 4 and 5 kg packs after working out the weight you need. Measure only the part of the bed that needs feeding. Confirm the method and units in the full directions and check the photo of the chosen pack before ordering.
Frequently asked questions
Yes, if the root ball is healthy, the weather is mild enough and you can keep up with watering. During hot spells, protect the pot and wait for conditions you can manage.
Choose depth by group. Check the label for a large-flowered hybrid, species or herbaceous type. One depth does not suit all clematis.
Check the soil and the plant’s actual needs first. Correct drainage separately. Follow the relevant ornamental group instructions if you use a bed fertilizer, and do not transfer a vegetable seedling rate to clematis.


