


To keep the character of a clematis cultivar, make a new plant from healthy growth. Layering suits a gardener who wants one plant and can bend a stem to the ground. Cuttings can make several plants from suitable current-season growth, but their moisture needs closer attention. Seed from a hybrid can give different results. Decide how many plants you want, inspect the parent and prepare a place before cutting any stems.
Prepare healthy stems and a place to work
Write the label before you start. Cuttings from neighbouring cultivars are easy to confuse once separated, especially without flowers. Choose a healthy non-flowering stem. A middle section of current-season growth is flexible but firm enough to handle. A soft tip can lose moisture quickly. For a layer, choose a longer length that can be brought down to the soil without kinking at the support.
Avoid taking most of the healthy growth from a small or weak plant. Some clematis flower on last year’s stems and others on new growth. If you want to preserve the parent’s flowering, take a small number of stems and check which pruning group your clematis belongs to. If the plant already wilts, check its conditions first. Use the guide to why a clematis may not flower when weak growth coincides with a lack of blooms.
Set out a sharp clean tool, labels, small pots with holes and a moist airy propagation mix. Choose bright filtered light. On a south-facing glazed balcony, check whether a container under a clear lid will overheat. In a dry, windy garden, a layer may need closer moisture checks than it does beside a sheltered wall. In heavy soil, check that the hollow will drain rather than become a puddle.
How to make a layer
Start in spring when soil is workable and you can lower a flexible stem without damage. A cool site in the Ukrainian foothills and a sheltered southern garden reach that stage at different times. The layer stays connected to the parent while the covered section forms its own roots. Leave it attached when you first peg it down.
- Check the length of the stem and choose a section near a node that can be lowered without a sharp bend.
- Make a shallow hollow in loose soil. Pin the section down and cover it, leaving the tip and leaves exposed.
- Mark the spot, water it and check during dry weather to keep the soil evenly moist without water collecting.
- Later, inspect the edge of the layer carefully. Avoid pulling the stem to test it. Once it has a root system, separate it with a clean tool and move it with soil around the roots.
A long stem can sometimes be looped in and out of the soil, with a bud left exposed between covered sections. This can produce more than one plant, but check each rooted section on its own. If one has good roots and the next does not, leave the weaker one connected. Use a single layer with a short stem. Growth at the tip alone does not confirm rooting, since the parent is still supporting it.
If a stem is tied to an upright support, loosen part of the tie and check it can reach the ground without tension. Near a path, mark the peg so nobody pulls it out when weeding. After heavy rain, check that the peg is still in place and that soil has not washed away. Establishing enough roots can take more than one season. Plan the move around the plant’s condition, rather than the first date available.
How to take cuttings
Keep a node and mark which end goes down
Have the container ready before taking a stem so the cutting does not lie in the sun. Take a section of healthy current-season growth with one node and a pair of leaves. Make the top cut above the node and leave a length of stem below it to go into the mix. Keep the piece upright and leave leaves and buds above the surface. If working in batches, mark each cultivar and protect freshly cut sections from drying.
Space the cuttings so their leaves do not press against one another. Leave room to check each base without disturbing the rest. Clean the tool between plants and clean any container before reusing it for healthy material. During the walk from the garden to the bench, protect the shoots from wind and direct sun. A temporary cover limits drying while you work.
Balance moisture in the air and the mix
Insert cuttings into moist, airy mix and gently firm it around the stems. A clear cover helps keep humidity up, but keep it out of direct sun. Prevent leaves from pressing against a wet lid. Vent if condensation remains heavy and remove any cutting that turns soft or decays. The mix should be moist without saturation. Inspect it regularly and water as needed.
If a cutting droops soon after insertion, check whether it dried during preparation, the mix is soaked or the cover became too hot. A soft blackened base and a leaf drooping briefly in afternoon heat require different checks. Granular garden fertilizer is unnecessary for rooting. How long roots take depends on the cultivar and the stage of the stem. Prepare a few spares if the parent can provide them and keep deteriorating cuttings apart.
When to move the new plant
A new bud can open using reserves in the cutting. Look for visible roots and a ball that holds together when you lift it very carefully. Leave a weakly rooted cutting in its original container longer. Once rooted, increase ventilation in stages and acclimate it to air without the cover. Transfer it into a separate pot without disturbing young roots. Before its first winter, check the cultivar’s cold tolerance and protect the small pot from freezing.
If the new leaves droop quickly after you open the cover, shorten the uncovered period and check moisture below the surface. Increase exposure again when the plant holds its leaves. Do not move it straight into midday sun. Label the propagation method, date and parent plant to distinguish batches that look alike.
Plan the support and room for an adult clematis before putting it into its final spot. Postpone planting in saturated soil or if a sharp temperature change is due. Consider feeding once the new plant is established and growing normally. During rooting, focus on stable moisture and drainage.
Feeding once a clematis is established in the garden
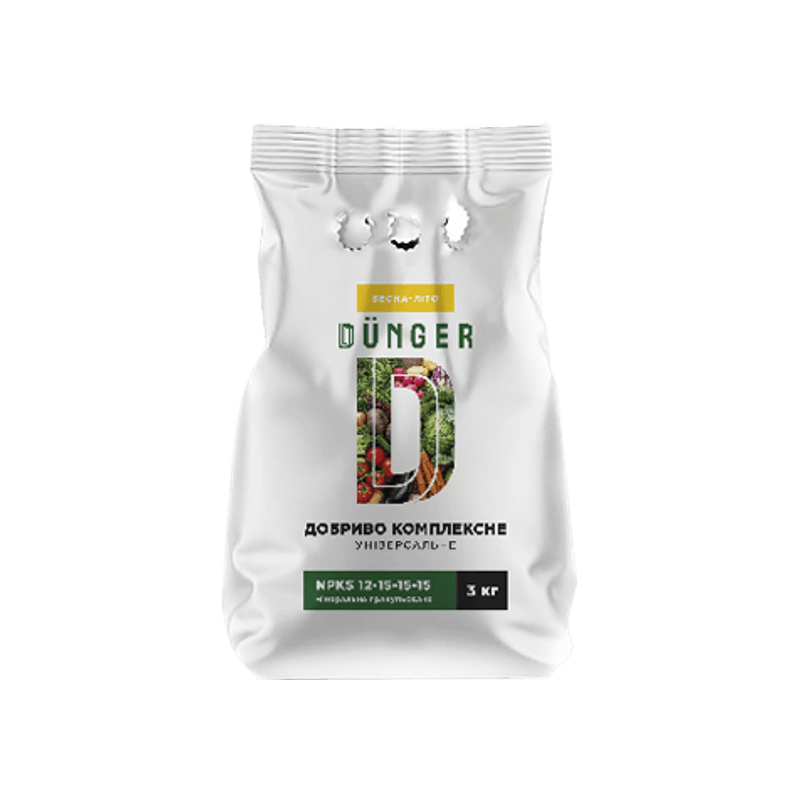
Complex fertilizer universal granular
When the young clematis is established outdoors and needs nutrition, consider DÜNGER universal granules. The instructions have a flowering and ornamental plant group and soil application directions. Match that group to the established plant. Keep the granules out of pots where cuttings are still making roots.
Compare 3, 4 and 5 kg packs after measuring only garden areas that need feeding. Check composition, the appropriate group and the chosen pack photo before ordering.
Frequently asked questions
Seedlings from hybrids can differ from the parent. Take cuttings or layer a healthy plant of known identity to preserve that cultivar.
Check for its own roots first. The parent can still support the shoot. Separate the layer once it has roots able to hold soil around them.
At this stage it needs a living node, even moisture, air and filtered light. Leave garden granules out of rooting mix. Review feeding after roots form and growth is established.
Remove the affected cutting so it does not touch others. Check for pooled water, wet covers touching leaves and overheated containers. Identify what needs changing before you water or prepare another batch.


