


Celery seedlings need time, light and even moisture. Their small seeds should not disappear beneath a deep layer of soil, and newly emerged plants should not immediately move into a cold greenhouse simply because it is convenient to work there. The aim is healthy young plants that have avoided prolonged chilling and drying. Begin by identifying the type of celery, then connect sowing to a realistic outdoor planting opportunity in your own Ukrainian garden.
Choose the crop, not just the name celery
Celeriac is grown for its swollen stem base, commonly sold as celery root. Stalk celery is selected for fleshy leaf stalks, while leaf celery is primarily a leafy crop. These related forms do not have identical harvest aims or final layouts. A familiar name or a photograph of green foliage is not enough information when selecting seed.
Label containers before sowing. Keep varieties separate and record your own sowing date if comparing them. Do not judge celeriac by how quickly it produces leaves for cutting, or expect a leaf variety to produce the harvest associated with celeriac. The individual packet helps clarify development time, growing requirements and spacing.
Work backwards from suitable planting weather
Celery has a long growing period, which makes an indoor start useful. Plan backwards from an approximate safe planting window, leaving time for nursery development. A neighbour's calendar or a foreign sowing month cannot account for your variety, weather and growing space. Starting very early without adequate facilities is not automatically an advantage.
Distinguish ground that can be worked from conditions suitable for young celery. Prolonged chilling can encourage premature flowering, or bolting, later. That is different from an ordinary temporary pause in growth. Do not deliberately expose seedlings to freezing conditions to toughen them, or treat one warm afternoon as proof that nights have become reliably mild.
If you cannot provide a suitable indoor nursery area, buying plants of a known variety may be practical. Confirm the crop type and likely collection date before ordering. Purchased seedlings still need acclimatisation and appropriate weather; their arrival does not mean they must go straight into the bed that day.
Containers and medium for small seeds
A seed-starting mixture should let you distribute tiny seed and manage moisture evenly. Large clods, a dense crust and unidentified additions make that harder. Do not attempt to improve the mixture by adding arbitrary granules or concentrate before sowing. Suitable physical structure and a known starting nutrient content matter more than making it as rich as possible.
Use a clean tray, small pots or cells with drainage holes. A supporting tray is convenient, but it should not become a permanent bath beneath the roots. Read the guide to choosing growing media for seedlings before purchasing. Keep containers accessible: a deep, dark corner makes small seedlings difficult to inspect and maintain.
Sowing at the surface and managing moisture
- Moisten the mixture before sowing and level the surface without packing it hard.
- Distribute seed thinly. Light matters for celery germination, so avoid a thick covering; check the seed supplier's covering instructions.
- Label the variety and provide suitable warmth. If using a transparent cover, monitor the seed tray and ventilation.
- Keep the seed surface from drying out without turning the medium into a saturated slurry.
- After emergence, provide good light and continue checking rather than leaving the tray covered and unattended.
Germination can be slow and uneven. Do not dig through the tray daily looking for a seed or add another batch after only a few days. First compare the actual conditions and elapsed time with the guidance for that seed lot. Keeping the original packet makes this much easier than relying on memory.
After emergence, warmth is only part of the task
Once seedlings appear, light, space and root-zone moisture become central. A windowsill can become hot in sunshine and cold at night, so assess conditions at tray level rather than using only the room temperature. Keep young leaves away from the glass and protect the seedlings from cold air while ventilating.
Water gently without dislodging plants. Check the medium itself: a damp-looking surface does not always describe the whole container. If seedlings are crowded, improve their arrangement instead of trying to support weak, stretched growth with extra fertilizer. The guide to growing seedlings at home covers the broader organisation of lighting and nursery space.
Separating seedlings at a manageable stage
Use plant development rather than an arbitrary day number. Wait until seedlings are large enough to handle carefully, with sufficient true-leaf development. Give individual plants room in cells. Where seeds were sown together, separate them gently while supporting roots and a little surrounding medium, rather than pulling on fragile stems.
Prepare new containers, labels and their destination before starting. Water carefully afterwards and check that seedlings have not fallen over. Do not bury celeriac indiscriminately by copying the technique used for another vegetable. Its crown must remain clear when planted out. Handling fewer plants at once can make the work calmer and reduce time spent with roots exposed.
Consider nutrition alongside the growing medium
Assess feeding together with seedling condition and nutrients already present in the mixture. Slow germination is not a reason to water seed with fertilizer. A pale or weak seedling first needs a check of light, temperature, moisture and roots. Feeding does not replace a suitable environment or reverse the effects of chilling.
Read the actual product directions rather than borrowing a dilution from another bottle. Products sold in a similar form can have different compositions and application methods. Decide which method is appropriate before mixing anything, and account for previous feeding. A small number of seedlings still requires accurate preparation and the same attention to instructions.
A fertilizer option for the seedling stage
For nursery care, consider a product whose complete directions cover all types of seedlings and distinguish application methods. Match those instructions to the plants and growing system. A product mentioning hydroponics is not automatically limited to that system; check its stated soil use as well.
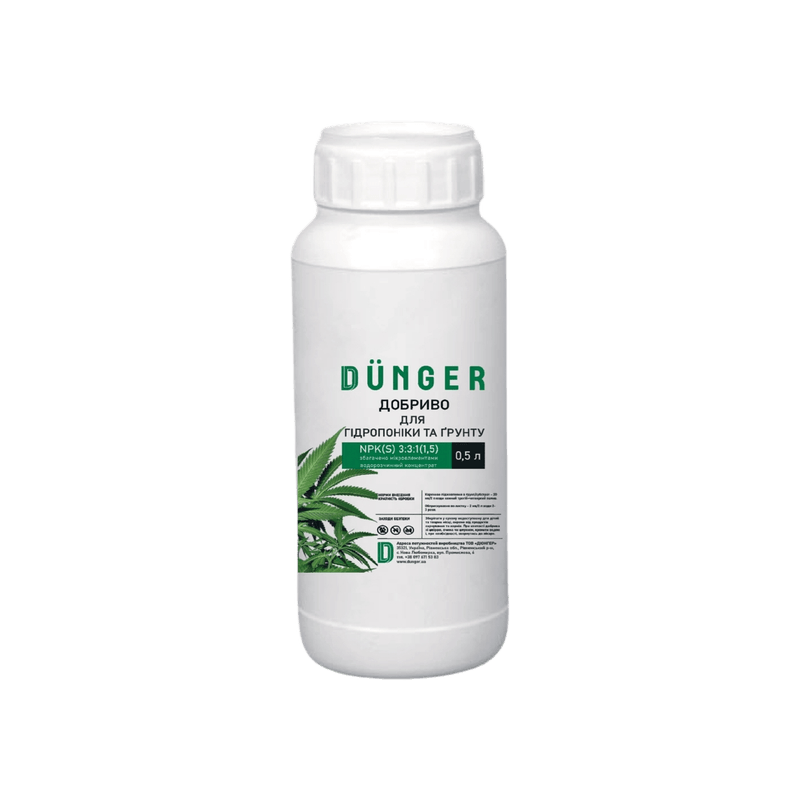
COMPLEX FERTILIZER FOR HYDROPONICS AND SOIL
DÜNGER liquid complex fertilizer for hydroponics and soil in a 0.5 L bottle. Choose the number of bottles for your order and review the composition and application guidance.
In My Garden, organise a zone for the future vegetable bed and its measurements when planning a purchase. Required packs depend on the chosen product and instructions; the number of nursery trays alone does not establish the quantity. Check the product name and pack size before adding it to the cart.
Preparing for planting out
Introduce outdoor conditions gradually while protecting plants from abrupt strong sun, wind and chilling. Hardening off does not mean keeping celery cold to make it tougher. Before transplanting, review the forecast, conditions at the site and your ability to maintain even moisture. Prepare the bed first so that plants removed from containers do not wait while you finish digging.
For celeriac, pay particular attention to planting level and keep the crown clear. Arrange stalk varieties according to their intended use and growing guidance, without automatically applying blanching methods to every type of celery. Water after planting and continue inspecting. Later feeding decisions should follow plant development and the selected product's complete directions.
Common questions
Light is important for germination. A thick soil covering does not suit that requirement. Follow the packet and maintain surface moisture without washing the seed around.
Do not deliberately chill young plants. Prolonged cold can encourage premature flowering. Acclimatise gradually while considering the forecast and seedling condition.
Assess seedling development, the medium and full product instructions. Do not prescribe feeding from the day count after sowing alone, or use it to force faster emergence.
No. Celeriac, stalk and leaf types have different purposes. Keep variety labels, check spacing and planting level, and do not transfer stalk-blanching techniques to celeriac.


