


Plant ordinary summer-flowering garden gladioli in spring when the soil is warming, is not waterlogged and the frost risk to emerging shoots has passed. There is no single planting date for every Ukrainian garden. Check the local forecast, the ground and the variety you have bought. Healthy corms, a sunny position and suitable planting depth matter more than getting them into the soil before your neighbours do.
Why a date alone is not enough
The same spring day can bring different conditions beside a warm wall, in an exposed bed and in a hollow where cold air collects. Do not judge readiness by the midday air temperature alone. Check the soil where the corms will sit and consider the night-time forecast as well.
For a gardener without protection, waiting until frost risk has passed is the more straightforward approach. Dormant corms are sometimes planted earlier with emergence timing in mind, but that is not a universal instruction. Be especially careful with material already growing strongly: an exposed green shoot does not have the protection of the surrounding soil.
Do not transfer autumn tulip-planting rules to ordinary large-flowered gladioli. Species and hybrid groups differ in hardiness. If the packet gives an unfamiliar botanical name, check that plant's requirements rather than relying only on the shared name gladiolus.
Choose corms for the display you want
A gladiolus grows from a corm, a swollen underground stem containing stored reserves. People often call it a bulb, but it should not be handled like a dahlia tuber. There is a growing point at the top and a base from which roots develop. Knowing the orientation makes planting simpler and avoids unnecessary handling after the hole is prepared.
Inspect each corm. It should be firm, with no soft areas, mould or suspicious dark lesions. Dry papery coverings do not by themselves mean it is dead. Keep clearly damaged material out of the healthy planting group instead of hoping fertilizer will correct the problem later.
Large, well-developed corms and tiny cormels serve different purposes. Choose flowering-sized material for a planned flower display. Grow small cormels on separately; a young plant producing leaves without a flower spike is not necessarily short of nutrients. Size, variety and growing conditions all matter when setting expectations.
Sunlight, drainage and practical access
Choose an open sunny position away from heavy shading and competition from shrubs or trees. Tall varieties benefit from shelter against damaging wind, but shelter does not mean squeezing them beneath a dense canopy. Consider where mature plants will receive light and how you will reach them for tying, watering and cutting.
Water should not remain standing around the planting site after rain. If it does, change the position or prepare a properly drained raised bed. A deeper hole does not solve an underlying drainage problem. Adding fertilizer will not make persistently saturated soil suitable either.
Remove weeds and large obstacles, prepare the planting area and assess fertility before adding materials. Our guide to assessing garden soil explains useful starting checks. Account for compost and earlier fertilizer rather than repeating every application automatically.
How deep should gladiolus corms go?
For large corms of common garden hybrids, approximately 10-15 cm is a practical planting-depth reference. Measure to the position of the corm's base rather than adding that entire layer above its top. Smaller corms need a shallower setting; around 8 cm is a useful reference for smaller material, not a rule to impose on tiny cormels.
Check the planting instructions supplied with the particular material and consider your soil. Slightly deeper planting may suit light ground, while burying corms excessively in heavy wet soil is not a substitute for support. Tall stems can need stakes even when planting depth is appropriate.
For large corms, approximately 15-20 cm between plants is a starting point, adjusted to the variety and layout. A densely planted commercial cutting row is not automatically the best arrangement for a home bed where you need convenient access. Plan the spaces between groups as carefully as the individual holes.
Planting step by step
- Sort the corms by variety and size, setting questionable pieces aside.
- Mark the rows or groups and positions of future supports.
- Prepare holes or a trench at the appropriate depth in workable soil.
- Place the corms with the growing point upwards and the base down.
- Cover with soil without damaging any shoots, then gently level the surface.
- Water according to existing moisture without leaving standing water, and add labels.
A label showing variety and planting date helps you distinguish groups during care and autumn lifting. Plan supports at planting time so that later installation does not pierce a corm or injure developed roots. Ties should support stems without constricting them as they grow.
Do not improvise soaking or chemical-treatment mixtures. Clearly diseased material needs rejection, while any protective product requires a separate check of its intended use and complete instructions. Feeding is not disinfection, and adding nutrients does not make an unhealthy corm suitable for planting.
Should you plant several batches?
Staggering planting can spread the appearance of flower spikes. Intervals of about two weeks are used for ordinary garden gladioli, but each batch still needs suitable conditions. Allow time for flowering and for corm development before autumn cold, rather than continuing simply because more material remains in storage.
Planting date alone cannot guarantee a bouquet on a particular day. Variety and weather affect development. If you are combining the display with dahlias, use the separate guide to planting dahlias outdoors. For lilies, the guide to seasonal care of garden lilies is more appropriate: similar-looking underground storage organs do not share one universal planting programme.
Nutrition for the prepared flower bed
Gladioli belong to the floral and decorative crop group. If the bed needs additional nutrition, a universal granular product with instructions for that group is an option. First account for previous applications and read its complete method of use.
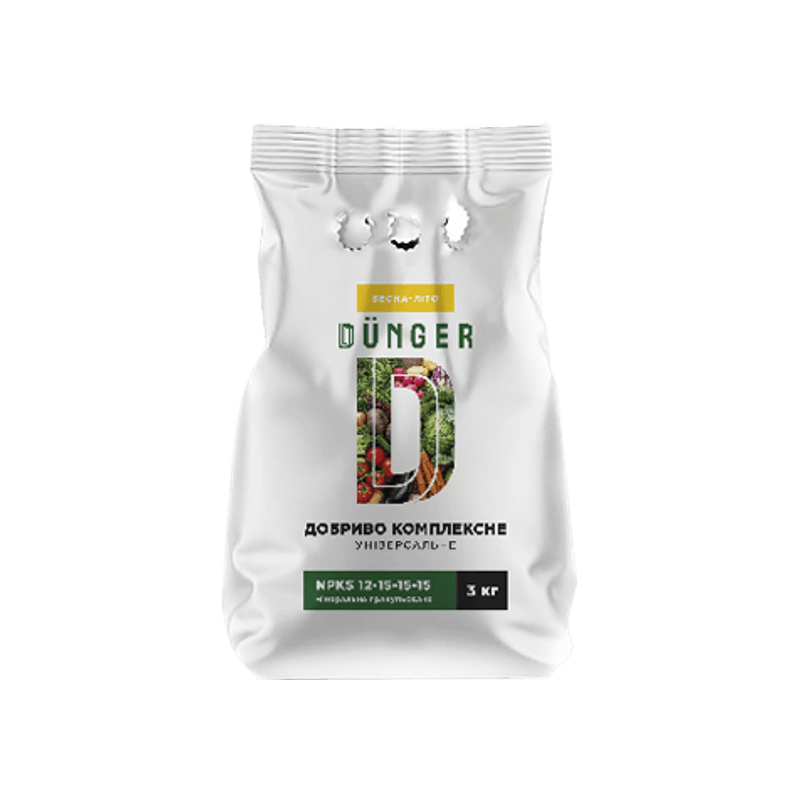
Complex fertilizer universal granular
DÜNGER universal compound fertilizer granules for vegetables, legumes, leafy greens and ornamental plants. Available in 3, 4 and 5 kg packs.
Floral and decorative crops: 30-40 gr/m².
This is the instruction's group rate, not a portion for each corm. Do not add it to another application method as an obligatory second dose. Measure the planted area without paths and weigh the amount needed according to the full product directions.
Create a separate flower-bed zone with its dimensions in My garden. This helps calculate fertilizer amounts and select packs alongside the needs of other growing areas. Having some product left in a bag is not a reason to increase the application rate.
Care after the shoots emerge
Check soil moisture and water when needed during dry weather. Remove weeds carefully without damaging young shoots or roots. If emergence is uneven, first consider differences in corm size, depth and soil condition. Increasing fertilizer across the entire row does not explain why only a few plants are behind.
When cutting flower spikes, leave as much healthy foliage as possible to support development of the new corm. For non-hardy garden hybrids, plan autumn lifting, drying and frost-free storage. Check stored material and separate anything deteriorating, keeping the healthy batch identifiable for the next planting season.
Frequently asked questions
Plan spring planting for ordinary summer-flowering garden hybrids. Some species have different growth cycles and hardiness, so an autumn method requires confirmation of the actual plant and its conditions.
It may not yet have reached flowering size. Also consider variety, light and growing conditions. A higher fertilizer rate is not a substitute for growing immature material on.
The need depends on height, flower spikes and exposure to wind. For tall varieties, plan supports early and position them without damaging corms or roots.


