


Spring grapevine pruning starts by identifying the parts of the vine and deciding what will remain on its support. Keep the necessary permanent framework, select suitable one-year-old wood for fruiting growth and provide for renewal. Do not shorten every cane to the same length. The buds retained depend on the cultivar, vine vigour, winter damage and training system, rather than on a universal number for every garden.
Read the vine before making a cut
Start at ground level and follow each major section to its end. The trunk or permanent base supports the plant. Arms and cordons arrange its structure on the trellis. A cane is last season's shoot that has matured into wood. Its buds produce new shoots in spring, and fruit develops on the current season's growth. A thick old branch is not automatically the fruiting wood you need to retain.
Mark the main parts with loose ties or on a photograph before removing tangled attachments. Avoid pulling one cane through another. An old vine may have been trained differently from your intended system. Do not immediately force it to resemble a diagram of a newly established vineyard. First find the living framework, last season's growth and the sections that can fit the existing support without breaking.
Decide whether the goal is fruit, shade or renewal
A vine over a seating area may have a different shape from one on a fruiting trellis. For accessible bunches, leave room for light, inspection and arranging new shoots. A permanent arm providing shade over a pergola has another purpose. Decide what you want before removing a major section that has supported the overhead canopy for years. The support and intended use should agree with the pruning plan.
A young vine still building its framework is a separate case. Do not apply the fruiting load of an established vineyard simply because several shoots are long. Assess plant development and support. Where winter has killed part of the vine, rebuilding living structure comes first. Leaving more buds in the hope of preserving a harvest cannot replace sound permanent wood and suitable renewal growth.
Understand the different roles of canes and spurs
In a cane-renewal system, selected one-year-old canes are arranged on the support for the coming fruiting cycle. Growth for the next renewal must also be available. A short retained section used to produce replacement wood has a different role from the longer fruiting cane. Understanding that purpose is more useful than memorising a bud count taken from someone else's vineyard diagram.
A cordon system keeps permanent arms and produces fruiting growth from shorter sections positioned along them. Its logic is different. Do not remove a permanent arm after mistaking it for a cane that should be replaced annually. Cultivar, growth habit, space and winter protection influence the choice. Table grapes and wine grapes do not all belong to one interchangeable pruning prescription.
Check that the support fits the plan
Inspect posts, wires and fastenings before tying in the selected wood. The cane should fit without sharp bends or overlap with a neighbouring vine. Repair sagging wire or damaged support before arranging growth. Randomly removing useful vine structure is not a good way to compensate for a failing trellis. Draw the base, fruiting positions, future shoot direction and access points so that each major cut has a clear reason.
Select wood for position as well as condition
Compare health, maturity, placement and the ability to tie a cane comfortably. Do not keep visibly damaged material simply because it is the longest. Where two candidates cross, decide which fits the intended shape. Determine the eventual bud load for the cultivar and vine vigour rather than assuming that keeping everything must produce a better harvest. A manageable structure should allow you to understand where each new shoot will grow.
Think ahead to the following season. Where will a conveniently placed replacement cane come from? Repeatedly moving fruiting positions farther from the base can make maintenance awkward. Avoid removing all useful young growth near the framework while retaining only distant ends. On the photograph, identify wood intended for this year's fruiting, future replacement and the permanent structure. These labels help distinguish parts that otherwise look similar.
Winter injury can change the decision
Damage may be uneven within a single vine. One dry tip does not describe the condition of every bud and arm. Substantial suspected injury deserves a separate viability assessment and, when needed, specialist help. Final loading may need adjustment when the condition of retained sections becomes clearer. Do not increase it arbitrarily to compensate for anxiety about losing fruit.
Timing also depends on the plant's situation. An open vineyard, a sheltered wall and a greenhouse warm differently. If your question is specifically when to work, consult when to prune grapevines. Here the task is choosing the wood and its purpose. Once growth starts, buds can be rubbed off during untangling and tying, so handle the remaining canes carefully.
Make the cuts in stages
Use sharp, serviceable tools suited to the thickness of the wood. Remove material already identified as dead or unnecessary, then look at the structure again. After every major cut, check that the planned parts remain. This reduces the risk of taking a renewal cane away with an old tangled branch. Follow a cane to its origin rather than cutting only the visible ends.
Clear removed material from the work area so that it does not obscure the remaining vine. Do not use suspect diseased wood for propagation. Record the location and appearance of damage instead of choosing a treatment from one cut surface. Pruning creates an understandable framework, but it does not by itself establish the cause of every weak shoot or discoloured patch.
Tying completes the chosen shape
Arrange retained canes without forcing sharp bends. Attachments should support them without constricting tissue or rubbing buds. Keep access to adjacent vines clear. If a cane does not fit, reconsider its placement before fastening it permanently. A photograph after the work provides a useful reference when leaves later hide much of the wood and the origin of new shoots becomes harder to see.
Continue observing where shoots emerge and where growth becomes crowded. Dormant pruning does not finish training for the whole season: new growth still needs management. Do not remove every apparently spare shoot without considering its role. Some growth may be needed for renewal even when it carries no bunch. Notes on the original plan help preserve that distinction during later work.
Consider feeding separately from pruning
Pruning does not automatically call for an increased fertilizer dose. Account for previous growth, soil condition and materials already applied. If the decision needs a firmer basis, begin with soil assessment and the feeding history. Vigorous growth without suitable arrangement does not repair a training mistake, and extra nutrients cannot replace a fruiting cane that was accidentally removed.
Plan nutrition for the grape planting
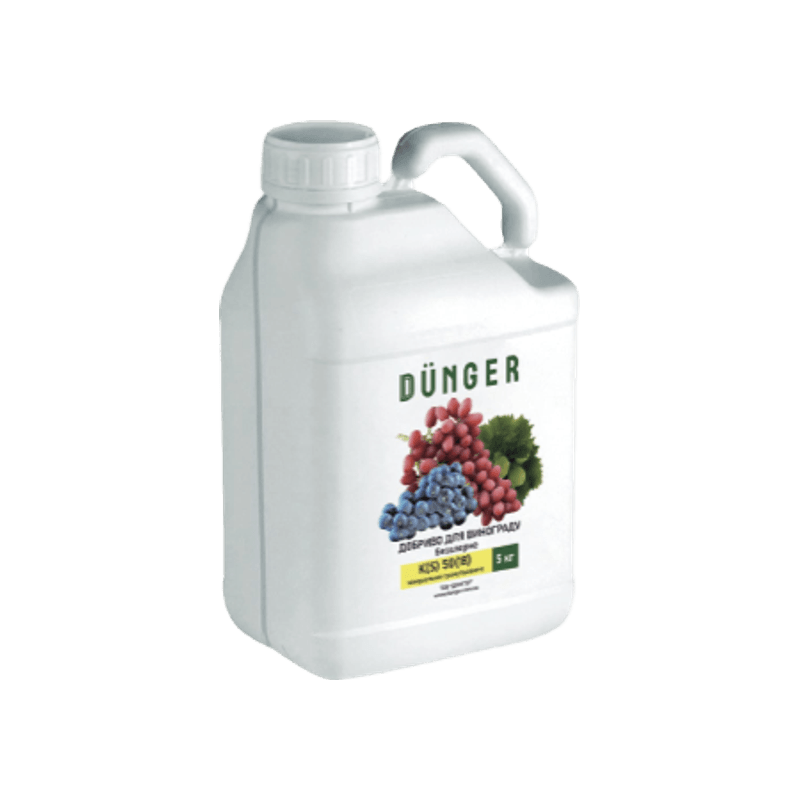
Complex fertilizer for grapes
Grape: 20g/10l of water/1m². This is the grape row for this product. Match it with the complete application method and the area being treated; do not transfer the rate from a different compound.
The 1 and 5 kg packs contain granules. Add the grape planting to My Garden to prepare its details and choose packs for an established need. Buying feed is a separate decision after assessment, rather than an obligatory sequel to every pruning session.
Questions about spring pruning
No. Permanent wood, fruiting canes and renewal growth have different purposes. Identify the system and cultivar before choosing length. Counting buds without understanding the framework does not provide a reliable plan, particularly when neighbouring vines differ in vigour or winter damage.
In spring this can be a normal result of sap flow. On a healthy vine it usually does not mean that the plant will be lost. Avoid making more large cuts simply to stop the flow. Assess the whole vine and use the season and plant condition when planning future work.
First identify living framework and usable young growth. Renewal may need several stages, especially after winter damage. Do not assume that a full structural rebuild and the usual harvest can both be maintained together. Explore related growing advice in the Fruit garden section.


