


Lavender can be propagated from healthy shoots grown during the current season. Cuttings are a more predictable choice than seed when you want to keep the characteristics of a particular cultivar. Prepare a free-draining propagation medium, containers with drainage holes and a bright position away from strong direct sunlight. Before roots develop, the main task is keeping the cutting alive with adequate moisture and air around its base.
Identify the lavender you want to copy
Record the species and cultivar if known. Lavenders differ in hardiness, size and flower appearance. Rooting a cutting does not change those qualities: a tender lavender does not become suitable for an outdoor Ukrainian winter simply because you propagated it locally. Decide where young plants will spend their first cold season before producing more plants than you can protect.
Choose a parent plant with healthy foliage and live shoots, without suspicious patches, rotting tissue or severe decline. If the plant is struggling in waterlogged ground, investigate its condition first. Propagation should not simply move an unexplained problem into new pots. Label each batch with the parent plant and cutting date, particularly if you are collecting material from several bushes that look similar.
When seed makes sense
Seed is an option when variation between plants is acceptable and copying an exact cultivar is not essential. A matching border calls for a different decision from an informal collection. Do not compare a packet of seed with a rooted cutting as though the result were identical. Decide whether uniform height and flower colour matter before starting, so that later variation is expected rather than disappointing.
Choose a shoot stage, not a universal date
Lavender can be propagated from soft young growth or semi-ripe shoots. A semi-ripe cutting has a firmer base while its tip remains softer. Development depends on growth and weather, so a date alone cannot tell you whether the material is ready. A dry old piece from the centre of the plant is not a substitute simply because it is easy to remove during tidying.
You can assess the parent plant's shape at the same time, but avoid stripping away all its leafy growth to collect cuttings. Lavender does not readily regrow from old bare wood. Read about pruning lavender while keeping a living crown before cutting heavily. Leave healthy leafy growth on the parent, and select suitable non-flowering shoots or remove flower growth when preparing the material.
Prepare the workspace before cutting
Have clean pots or modules, a sharp tool, labels, water and propagation medium ready. Check that drainage holes are open and that the tray will not hold the pots in standing water. Put everything within reach. Fresh cuttings should not sit in the sun while you search for containers. For a first attempt, prepare a batch small enough to handle promptly and inspect without difficulty.
The medium should keep moisture around the stem base while allowing surplus water to escape. Choose a product intended for cuttings and check whether it contains starter nutrients. Dense garden soil or an unknown mixture makes moisture and feeding harder to control. The guide to selecting and checking a growing medium helps distinguish physical properties from nutrient content; manage the actual cuttings separately from established plants.
Prepare and insert the cuttings
Take a healthy shoot with a clean, sharp tool. Keep collected material shaded and protected from drying, then prepare it without unnecessary delay. Trim the base below a node and remove the lower leaves that would otherwise sit in the medium. Retain leafy growth above the surface. Avoid tearing long strips of bark or leaving a crushed stem base that will be difficult to assess later.
Make a hole in the damp medium, insert the prepared base and gently close the mixture around it. The cutting should stand securely without being compressed into a saturated lump. Label the container straight away. If you choose a rooting product, use one intended for that purpose and follow its own directions. An ordinary compound fertilizer is not an interchangeable replacement for a rooting treatment.
Keep moisture without creating stagnant conditions
Place the cuttings in bright, sheltered conditions away from direct sun. A cover or propagator can reduce drying, but ventilation still matters. A clear cover on a sunny windowsill can become too hot. Look at the medium itself as well as droplets on the lid: condensation does not measure the moisture immediately around the cutting's base.
Water according to the medium's condition, not the routine used for mature lavender in a border. A rooted garden shrub and a shoot without roots have different access to water. At the same time, a permanently flooded tray does not help. Let surplus water drain after moistening the mixture. Remove fallen leaves and dead or rotting cuttings, while inspecting the healthy material without pulling it out every day.
If some cuttings wilt
Compare their positions. Were they beside hot glass, at an exposed tray edge or in a draught? Check moisture and the stem base before changing the treatment for the whole batch. A softened dark base and a dry but firm shoot need different explanations. Record the adjustment you make. Changing the cover, water and medium together makes it harder to understand what helped or harmed the cuttings.
Move from rooted cutting to young plant
Avoid promising a single rooting date. Temperature, shoot condition, lavender type and growing setup all affect progress. New leaves alone do not reveal how extensive the root system is. When the plant is ready to be assessed for potting on, inspect the rootball carefully and keep it intact. Do not pull hard on the stem to prove that roots are holding it in place.
Gradually introduce rooted plants to more open air. Increase ventilation first, then use a sheltered position without an abrupt jump in sun and wind exposure. Do not move an entire batch from a humid cover straight into a hot border. Plant out when the roots, weather and prepared soil are suitable. A late batch needs a deliberate growing-on and overwintering space, not an improvised place found after frost arrives.
Feeding belongs to the later plant stage
Do not add garden lavender granules to a tray of unrooted cuttings. Roots and a suitable medium come first. For later planting, account for starter nutrients, previous applications and the condition of the plants. Lavender does not automatically need rich feeding in every soil. Match a fertilizer purchase to a specific established planting and the product's intended method, rather than to the wish to speed up rooting.
For later care of planted lavender
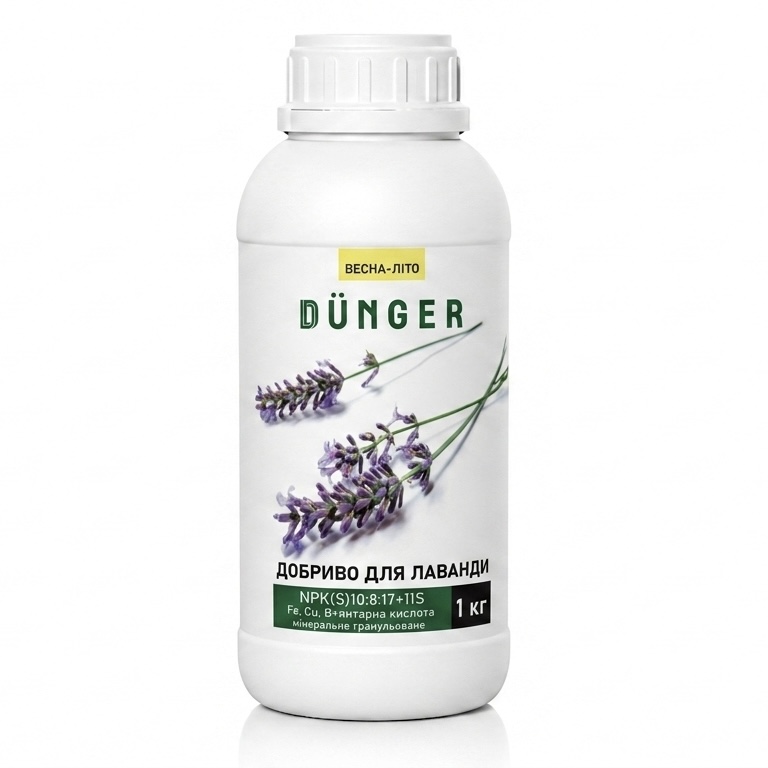
Complex fertilizer for lavender, granular
Choose this product for the appropriate care stage after planting lavender, rather than soaking or rooting freshly cut shoots. Its application method is:
8 to 10 weeks after sowing seeds/planting a seedling, fertilize at a rate of 30 g/m2. Also, fertilize during the flowering period of the bushes - 30 g/m2. Apply the fertilizer in a scattering on the loosened soil.
Compare the 0.5 and 1 kg packs with the area of the intended application. Save the lavender planting in My Garden to prepare the calculation and purchase. Do not make a homemade cutting solution from this granular compound.
Questions about lavender propagation
For a first attempt, a container or sheltered propagation area makes moisture and plant condition easier to monitor. In an open border, a small shoot is more exposed and easier to damage accidentally. Assess rooting and change growing conditions gradually before treating the plant as an established member of the border.
This method uses healthy growth rather than dry, bare wood. If the parent is old and weak, establish whether suitable live shoots remain before collecting material. Fertilizer cannot turn every removed branch into a viable young plant. Select the cutting first instead of trying to compensate for unsuitable material afterwards.
Seedlings may differ from the parent. If a uniform border is the aim, consider cultivar identity when choosing the propagation method. Keep names attached throughout rooting and growing on so that batches are not mixed. Explore related growing and planting advice in Flowers and ornamentals.


