


Boxwood can be propagated from healthy shoots whose new growth is beginning to firm. Prepare a moist but freely draining medium, a sheltered position and a routine for checking the plants. Do not expect a finished edging hedge within a few weeks. Root formation comes first, followed by growing on and gradual adjustment to outdoor conditions. Producing a cutting and establishing a mature hedge are separate jobs.
Plan the future hedge before collecting shoots
A low edging, a clipped ball and a free-growing shrub may require different cultivars and plant sizes. Boxwoods vary in leaf size, density and growth habit. If uniformity matters, collect from an identified plant and keep material from different gardens separate. Retain the cultivar name with the planting plan, because young plants are easy to confuse after several rounds of potting on.
Measure the intended strip without turning its length into a guaranteed number of successful cuttings. Losses and uneven development are possible. A first batch can show whether your growing conditions are practical. If the hedge is needed soon, compare propagation with buying rooted plants of the required size. The useful choice depends on your available time and space, rather than on the number of shoots you can collect.
Inspect the parent plant carefully
Look inside the bush as well as at its outer surface. Note dead patches, spotted or falling leaves, damaged shoots and signs of insects. Boxwood can suffer from pests and diseases, so a green-looking sprig from a declining plant is not automatically good propagation material. Do not collect indiscriminately from a plant whose problem is unexplained. Establish its health before trying to multiply it.
If someone gives you shoots, ask about their origin and the condition of the parent. Keep separate batches identifiable while observing them. Mixing everything in one unlabelled pot makes later problems harder to trace. You need to know whether a change affects one source or all plants sharing a growing setup. Anonymous hedge-clipping waste is not equivalent to deliberately selected healthy material.
Recognise useful new growth
For this method, select current-season growth with a firmer base while the upper part has not become old, coarse wood. Judge the shoot rather than relying on a month alone. Growth matures differently in warm shelter and colder exposed places. Avoid damaged, weak or unusually stretched material simply to increase numbers. A small batch of suitable shoots is easier to manage than a large collection of doubtful pieces.
Collect when the shoots are not already wilted by heat. Prepare containers first so that cut material does not wait on the workbench. When handling several cultivars, finish labelling one batch before beginning the next. A photograph of the parent and label provides a useful backup if a temporary tag disappears later. Keep the connection between each group of young plants and its source.
Use containers that make conditions manageable
Choose clean pots or modules with open drainage holes. Separate cells make small batches easier to inspect and divide later. A shared pot can also work, but do not pack cuttings so closely that foliage forms a wet, immobile layer. Leave room to see the surface and remove fallen leaves. A tray should collect drainage temporarily rather than hold the containers in standing water.
Select a propagation mix with predictable properties. It needs to retain moisture and let excess water escape. Avoid adding soil from under a sick shrub, undecomposed organic material or a handful of fertilizer granules. First check what is already in a prepared mix. The guide to choosing and checking growing media explains structure, drainage and starter nutrients, helping you reduce unnecessary unknowns at the beginning.
Prepare each cutting in order
Remove healthy shoots with clean, sharp tools. Keep the material shaded and protected from drying. Trim the lower end below a node and remove leaves that would sit beneath the surface. Keep the upper leaves above the medium. Do not strip long pieces of bark or crush the base with blunt scissors. Planting more deeply does not repair damaged material.
Make a hole in the damp mixture, insert the cutting and gently close the medium around its base. Keep foliage off the wet surface. Label the cultivar, date and source. If using a rooting product, check that it is intended for this purpose and follow its own instructions. Do not replace it with a compound fertilizer for established shrubs or combine unfamiliar products into a homemade treatment.
Balance moisture, shade and ventilation
Keep cuttings in bright, sheltered conditions away from strong direct sunlight. A cover or propagator can limit drying, but it still needs ventilation. A closed clear lid in sunshine is not safe merely because droplets are visible inside. Check warmth and plant condition, and assess moisture in the medium too. The cover should not press leaves against a wet surface.
Water according to the mixture, avoiding both drying out and permanent saturation. A fresh cutting does not have an established boxwood's root system. Equally, more water and less air do not turn it into a young shrub sooner. Remove dead material and fallen leaves without moving them between pots. If decline persists, examine the whole growing arrangement instead of automatically increasing watering for every plant.
Readiness is more useful than a promised date
Rooting under controlled warmth differs from rooting in an unheated sheltered place. Someone else's timescale is not a promise for your batch. Maintain suitable conditions and assess the plants themselves. Fresh top growth does not reveal the full extent of the roots. When preparing to pot on, inspect the rootball carefully without pulling the plant by its tip or tearing young roots away.
Gradually increase ventilation and introduce rooted plants to outdoor conditions. Avoid moving them straight from a humid cover into an exposed wind. After transferring them to suitable pots, keep individual inspection possible. Separate plants already growing in open air from fresh unrooted cuttings: one regime in a shared tray may not suit both stages equally well.
Grow a plant before shaping a hedge
Once boxwood is rooted and developing, gradual shaping can help produce a branched young plant. Do not begin with heavy clipping of a weak specimen merely because the eventual hedge should be dense. Assess its new growth and remaining foliage. A finished edging cannot be created in one operation. First produce a healthy plant that can be planted and cared for consistently.
Check the permanent site in advance. Boxwood needs soil that does not dry out completely or remain waterlogged. On a new plot, a soil assessment and application history provide useful context. Arrange watering access for the young plants and a route along the hedge. If some plants lag behind, do not hide them between stronger ones solely to complete the line; grow them on and investigate the difference.
Keep feeding appropriate to the plant stage
A fresh shoot, a rooted cutting and a shrub in garden soil do not automatically receive the same rate. Do not add a garden-area dose to a propagation cell before rooting. Established boxwood in fertile soil may not need extra feeding. Where a need is established in planted ornamental shrubs, a universal product with the relevant instruction group can be considered alongside previous applications.
For later care of established shrubs
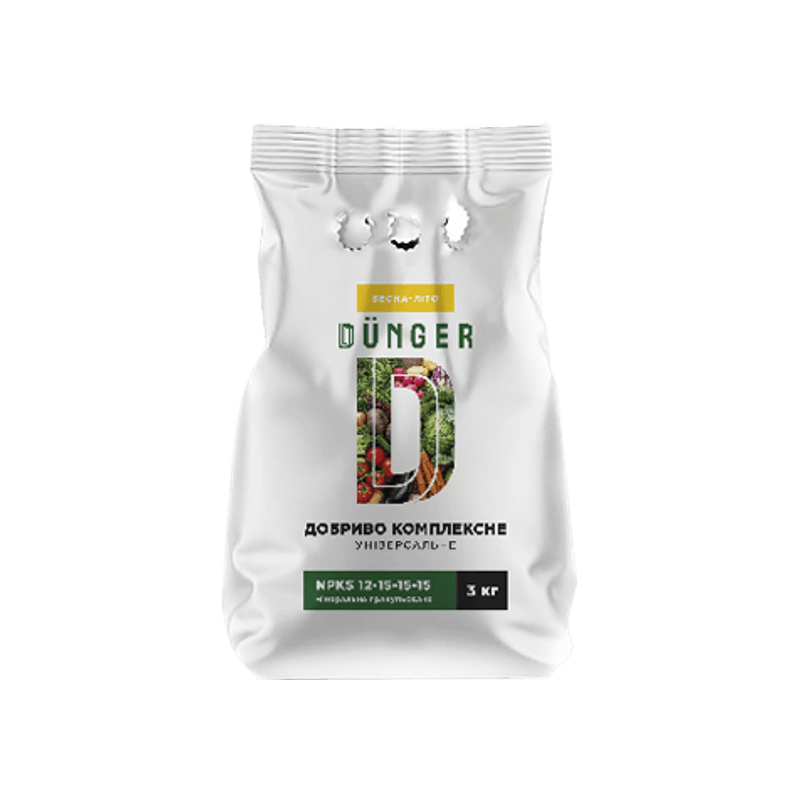
Complex fertilizer universal granular
Leafy trees and buches: 45 gr/m². This is a group rate from the instructions, not a boxwood rooting recipe. Consider its use for an appropriate planted shrub area after assessing need, and do not transfer it to unrooted cuttings.
Packs include 3 and 5 kg bags and a 4 kg canister of granules. Save your shrub planting in My Garden to prepare the area and choose packs. Check price and availability for the required product option.
Questions about boxwood cuttings
Only if you can select healthy, suitable growth that has not dried out and whose origin is known. A pile of waste on the ground does not replace careful selection. Preparing fewer identifiable cuttings is more useful than filling containers with everything available and losing track of plant health and source.
Retained leaves do not prove that the root system is sufficiently developed. A permanent planting needs rooting, growing on and gradual adjustment to outside conditions. Work from the plant's readiness rather than from a wish to complete the border on a particular day.
The answer depends on plant development, protection and local conditions. Do not treat a small container as equivalent to an established shrub rooted in the ground. Prepare the overwintering place before cold weather arrives. Find more advice on ornamental plantings in Conifers and shrubs.


