


Celosia can be sown directly in a flower bed or raised as seedlings before planting outdoors. Warmth determines whether either approach is sensible. This is not a flower for early sowing into cold ground while frost remains a possibility. In a Ukrainian garden, consider the length of the warm season, the conditions of your own plot and the stage at which you want the display to begin. Starting seedlings under protection gives you a head start, but those plants still need preparation before moving outside.
Know which celosia you are planting
Decorative forms of Celosia argentea include crested flower heads, upright feathery plumes and slender spikes. Look beyond the flower photograph when buying seed. Check the variety name, expected height and planting guidance. A compact form and a tall form may need different positions in the same border, even when their colours match.
Keep varieties labelled rather than mixing all the seed into one furrow. This matters when you want a particular colour arrangement, space for cutting flowers or a comparison between direct sowing and transplants. Sketch the available planting area and use the variety's stated spacing. A tightly packed bouquet is not a model for the space living plants need in a bed.
When is outdoor sowing appropriate?
For celosia, wait for warm soil and the end of the frost-risk period. A single sunny afternoon after cold weather is not enough evidence. Check the night forecast and the bed itself. An open plot, a shaded strip near a building and a low area that stays wet can present different conditions within one garden.
Across Ukraine, a date copied from somebody else's calendar can be misleading. Where spring remains cool or the useful warm season is shorter, raising seedlings under protection may be the more practical route. Direct sowing still needs enough growing time after emergence. A late outdoor start should not be expected to produce the same display at the same time as established transplants.
Prepare a sunny, well-drained place
Celosia grows best in sun with soil that allows excess water to drain. Observe the proposed bed after rain. If water remains standing, address the site before planting. Fertilizer does not provide drainage or make an unsuitable position suitable. Also consider shade from neighbouring plants once their leaves have developed, rather than judging the bed only while they are small.
Remove weeds and prepare a level sowing surface without large clods. Plan access for gentle watering before the seed goes in. A marked edge and a narrow working route help keep feet and trailing hoses away from tiny seedlings. If more than one person looks after the garden, make the sown area easy to recognise.
Direct sowing, step by step
- Read the packet for sowing depth, covering requirements and spacing. Do not assume that a deep furrow suitable for larger seed is appropriate.
- Check moisture before sowing. Very dry clods and sticky, saturated ground both make careful seed placement difficult.
- Distribute the seed so that the emerging plants can be identified and managed. Label the variety rather than emptying the whole packet into one small hole.
- Water gently without washing the seed away. Check moisture where the seed is located, not merely the appearance of the surface.
- After emergence, distinguish seedlings from weeds and provide the spacing recommended for the variety. Keeping every crowded seedling is not necessarily the best use of the bed.
Record which area has been sown on your own garden sketch. That small precaution prevents someone from loosening or sowing the same ground again because it appears empty. If emergence is uneven, first review the seed instructions, moisture and conditions instead of adding fertilizer as an automatic response.
Raising seedlings before planting out
Clean containers with drainage holes and a suitable seed-starting medium make the process easier to manage. The guide to choosing growing media for seedlings explains what to check. Garden soil and a mixture intended for small seed containers are not interchangeable simply because both look loose.
Follow the packet instructions, manage moisture and provide adequate light once seedlings appear. Individual cells help avoid tangled roots between neighbouring plants. Limit the number of trays to the space you can actually light and supervise. An extra tray in a dark corner does not bring the finished flower bed closer. For the broader sequence, use the guide to growing seedlings at home.
Harden off and transplant carefully
Indoor plants have not experienced the same sunlight, wind and temperature changes as outdoor plants. Introduce those conditions gradually. Begin with a sheltered position for a short stay, bring the seedlings under protection before temperatures fall and increase exposure as they adjust. Hardening off does not turn celosia into a frost-hardy flower.
Prepare the planting positions according to the variety. Support each rootball as it leaves its container instead of pulling on the thin stem. Choose a time away from fierce midday sun, place the plant carefully and water it in. Resist filling every temporary gap with another seedling. Newly planted young plants naturally occupy less space than the mature display.
Check the first weeks by plant stage
Look at the soil and the plants together. If leaves lose firmness, check root-zone moisture, recent weather and transplanting before changing the feeding programme. Seedlings that collapse or decay at the base may be affected by damping-off problems. Crowding, excessive moisture, poor light and limited air movement create unfavourable conditions; fertilizer is not a treatment for these problems.
Keep the directly sown section and the transplanted section separate in your care decisions. They can be at very different stages despite growing side by side. Do not copy watering from a neighbouring flower bed without checking this one. Equally, judge progress by the condition of the plants, not just the number of flower heads already showing colour.
Plan nutrition for the flower bed
Once the site is suitable and its nutritional needs are understood, a compound fertilizer with directions for flowering ornamental plants is an option. Match the product to the plant group and the stated application method. A garden-bed instruction is not automatically a recipe for tiny seed cells, and extra granules are not a way to hurry emergence.
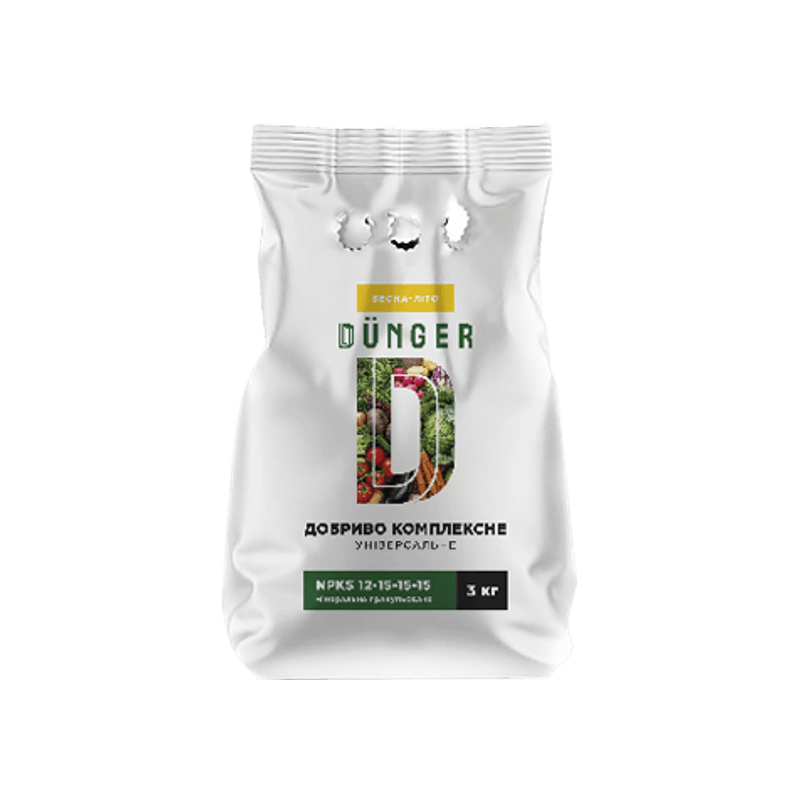
Complex fertilizer universal granular
DÜNGER universal compound fertilizer granules for vegetables, legumes, leafy greens and ornamental plants. Available in 3, 4 and 5 kg packs.
Compare suitable options in fertilizers for flowers. In My Garden, create a separate flower-bed zone and enter its measurements to plan the purchase. Use the actual planted area rather than including paths and unused space. Choose pack quantities after checking the selected product and application method.
Common questions
Yes. Direct sowing is possible in warm soil after frost risk has passed. Consider the remaining warm growing period and the variety's instructions. Transplants may be more convenient when an earlier established display matters.
The small space occupied at emergence is not the space a mature plant needs. Follow the variety's spacing to avoid crowding and retain access for care. Do not judge the final arrangement solely by the current size of the seedlings.
A sudden change can damage leaves. Introduce outdoor conditions gradually, beginning in a sheltered position, and watch night temperatures. Acclimatisation does not remove the need to wait for suitable weather.
Not automatically. Consider their stage, the growing medium and the complete directions for the particular product. A fertilizer for outdoor beds does not supply a ready-made seed-tray programme. Poor light, cold or excessive moisture first require changes to growing conditions.


