


You can collect a few hardwood cuttings from panicle hydrangea in late autumn once the shrub is fully dormant. Collecting cuttings and starting them into growth are separate jobs. Fall collection needs a cool, protected storage place where the wood will stay moist and avoid freezing. Start rooting later in a suitable medium. If you cannot provide stable storage, mark suitable shoots on the shrub and return in late winter before active growth. Keep enough healthy material on the plant to try again if the first batch fails.
Confirm the species and check the parent shrub
This approach concerns panicle hydrangea, Hydrangea paniculata. Start with the plant label or a record of the cultivar. A spent panicle can help you find the right shrub, while the best material may be on a different shoot. If you grow several types of hydrangea, mark the plants while you can still distinguish them easily. See the guide to propagating hydrangeas to compare other methods, including layering, or different types of cuttings.
Choose healthy wood that grew this year and has now hardened. Skip soft green tips and stems with splits, breaks or dark damaged patches. Look for well-formed nodes and buds. For a first trial, take only a few cuttings so the parent keeps enough healthy growth and you have material in reserve. If you collect from two shrubs, label the batches separately even when the plants look similar.
Decide whether to collect in autumn or wait
Collect a small batch after the shrub becomes dormant
Autumn collection is useful if the shrub has naturally lost its leaves, the shoots are mature and you can provide cool storage without wide swings in temperature. A balcony that heats in the afternoon sun and freezes overnight is difficult to manage. Warm indoor air can encourage buds to open before any roots have developed. Check your storage space before cutting, especially if it is hard to visit the garden in winter and you expect the stored material to be your only supply.
Mark shoots to collect later if storage is uncertain
Tie a loose marker around several healthy shoots without letting it press into the bark. Photograph the marked shoots and the shrub from a distance so you can find them in winter. Return before active growth and check that the buds are still dormant and the wood is sound. Material left on the shrub needs no separate storage, but cold can damage some tips. Mark spare shoots and inspect them before taking the cuttings.
Collect and label the hardwood
- Write the species, cultivar if known, and the date on the labels before making cuts.
- Use clean pruners to take a small amount of healthy hardened wood. Lay the pieces down with their bases pointing in the same direction.
- Mark the top and base while their positions are still clear. The end nearer the parent plant goes down into the rooting medium later.
- Keep the wood cool in slightly moist material. Inspect it for drying, wet patches or mould while disturbing the stored batch as little as possible.
Keep a label with the cuttings even if you move them to a different shelf. Store cuttings from different plants separately so you do not mix up their cultivar names in spring. Record the collection date and the day you insert the pieces into a rooting medium as two separate dates. The first tells you how long the wood was stored. The second helps you keep track of actual root development.
Set up rooting as a separate task
Use a clean container with drainage holes and a loose medium that holds moisture while allowing excess water to drain. Moisten the medium and let it drain. Place each cutting base down, with one node below the surface and at least one above. Firm the medium lightly around the wood. Keep the container in bright, sheltered conditions out of direct sunlight. Tip away any water that collects under the pot.
Swelling buds or new leaves do not confirm that roots have formed. Pale tissue at a cut surface may be callus. Avoid pulling up every cutting each time you check the tray. If you need to examine progress, inspect one sample carefully, supporting the medium around its base, or wait until you see roots near a pot edge or drainage opening. If a few pieces darken or dry out, check the moisture and storage conditions before starting another batch.
Hardwood panicle hydrangea cuttings can root unevenly. The condition of the wood and the rooting setup influence the result. A poor outcome with one autumn batch tells you little about every possible method for that cultivar. Record whether you collected immediately after natural leaf fall or later, how the stems were stored and when you began rooting. If buds have opened without visible roots, give yourself more time to observe before moving anything into the garden.
Move rooted plants outdoors gradually
Move a young plant to its own container when there are enough roots to hold its medium together during a careful lift. Acclimate it to brighter light, outdoor temperatures and wind in steps. A sheltered spot can suit it by day and still get too cold at night. Use the forecast for your garden rather than a fixed calendar. For a shrub that already grows outdoors, refer separately to the guide to outdoor hydrangea care.
Label the individual containers with the day you observed roots and the day you began acclimating them. If leaves wilt after exposure, move the plant back into shelter and check its moisture before watering. Watch whether it can hold its new growth under the current conditions. Keep the cultivar label with the pot so you can tell it apart from other young plants and match it to the original shrub later.
If only one cutting roots, use that plant to learn how it handles the move from a protected spot to the garden. Leave the rest of the tray in suitable conditions and check the pieces individually. Moving the tray as a single batch may expose the unrooted cuttings to conditions they cannot handle yet. When you compare batches later, record how many had formed visible roots before you transplanted them. Bud growth alone is an unreliable count of established plants.
Spring and summer feeding for established hydrangeas
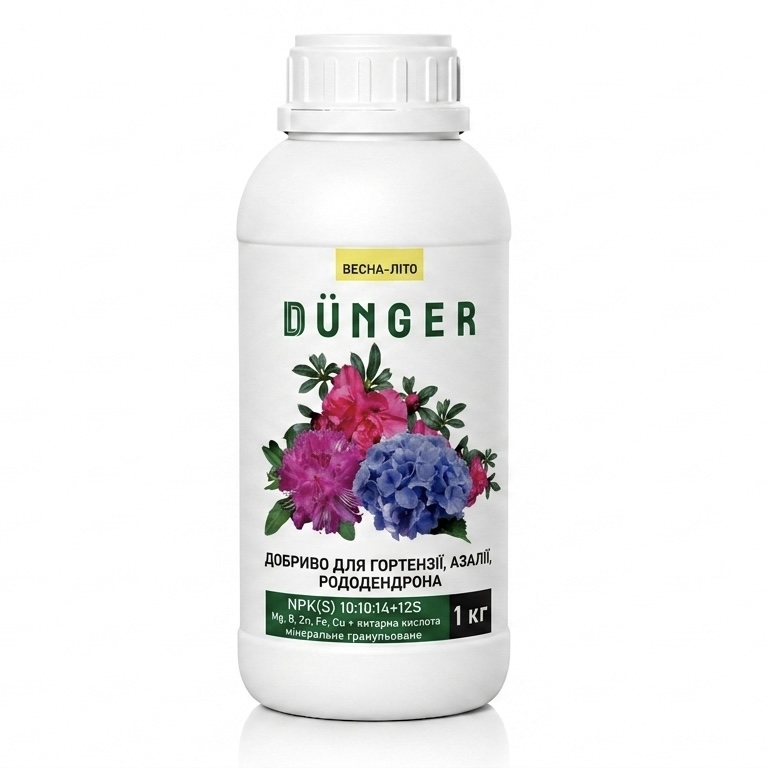
Complex fertilizer for hydrangea, rhododendron, azalea granular
This granular compound has directions for hydrangeas growing in the garden. Consider it during spring or summer for an established shrub with a confirmed nutrient need that fits its composition. Moisture and a clean medium matter during storage and initial rooting of cuttings.
The product page lists 0.5 kg, 1 kg and 5 kg packs. Check the full directions, shrub size and age, soil conditions and previous applications before buying.
Frequently asked questions
Use the condition of the wood, dormancy and the storage available to you. Ukrainian gardens can freeze at different times, and the temperature on a balcony differs from that in a garden shed. If you cannot keep the wood in cool, stable conditions, mark the shoots and return later.
For this trial, use a clean container that drains and a rooting mix with air spaces. Pale growth on a submerged stem can be something other than roots. Confirm actual roots before assuming the cutting is ready to transplant.
First check for roots and make sure the cutting is neither drying out nor standing in water. During rooting, manage air and moisture in the medium. Feeding an established outdoor shrub is a separate job with its own timing and conditions.


