


Start English lavender from seed in a small, labelled tray with a fine seed-starting mix and a dependable source of light. Sow on the surface of the moistened mix and read the packet before deciding whether to chill the seed. Germination can be slow and uneven. Give the seedlings steady moisture without standing water, enough light to grow compactly, and time to adjust to outdoor conditions before planting them in the garden.
Choose the seed and plan a small batch
Look for Lavandula angustifolia on the packet. Different species and hybrids are sold under the word lavender. Read the description, look for instructions that apply to the specific seed, and check the date and lot. A named seed strain may be selected for particular traits, while seedlings from casually saved seed can vary. If you need a uniform border or a precise match to a healthy parent bush, consider propagating lavender from cuttings.
Keep two seed packets in separate cells or sections, even if the front of both packets shows the same flower colour. Label the cultivar or lot and the sowing date. For older or unfamiliar stock, begin with a few cells and keep some seed in reserve. Make a note of when the first healthy shoots appear and where those cells were in the tray. You can then distinguish a poor lot from a dry corner or uneven light.
In Ukraine, work back from the likely outdoor planting window in your own garden. Frost is one reason to delay planting. A bed that stays cold or wet can also be unsuitable when the air feels mild. If you lack reliable supplementary light in winter, starting especially early may leave seedlings crowded in small cells under weak light. If you prefer to work entirely outdoors, first look at when to sow lavender directly outdoors.
Decide whether to chill the seed
Moist chilling can help English lavender germinate, and the response differs by cultivar and lot. Follow any instructions for pretreated seed. If you have enough seed from an unfamiliar packet, try a small comparison. Prepare one portion as advised for the seed and leave the other untreated. Then sow both into the same kind of mix with the same temperature, light and watering. Changing several conditions at once makes it hard to learn from the result.
If the directions call for moist chilling, label a clean container and write down when you started. The medium should be lightly damp with no free water. Chilling in a refrigerator and putting seed in a freezer are different treatments. Check the container from time to time. If a seed begins to germinate, transfer it gently with some of the medium supporting it. Separate any visibly mouldy portion and check whether the medium was too wet.
Surface sow and check the edges of the tray
- Moisten the seed-starting mix before filling the cells. Keep the drainage holes open and let extra water run out.
- Level the surface, place the seeds on it and press gently so they touch the damp mix. Avoid burying them.
- Use a clear cover if the surface dries too quickly. Vent when droplets build up, and keep the covered tray out of strong direct sun.
- Provide bright, steady light. Once shoots appear, begin removing the cover and allow air to move around the seedlings.
- Water gently enough to keep the seed in place. If you water briefly from the tray, pour away the excess once the mix is moist.
A fine mix gives small seeds good contact with moisture. Dense garden soil may crust in a tiny cell. A coarse mix can leave gaps around seeds. If you are choosing between bags, see how to choose a mix for seedlings. Check a cell in the centre and one at the edge before watering. The edge may be dry when the middle is still moist. Water the dry cells separately when practical.
Put the tray where you can see it every day without moving it through large changes in temperature. A shelf under a lamp can be easier to manage than a sunny window that becomes cold overnight. If using a window, watch for cold next to the glass and strong sun under a cover. Move only one part of the setup at a time when comparing seedlings. Keep notes on that change so you know what happened.
Respond to uneven emergence and weak stems
English lavender often germinates slowly. A few early shoots can appear while most cells still look empty. Before adding more water, check whether the surface is dry, whether the tray overheated and whether the seed was moved when you watered. A dated label and a small trial help you decide whether a delay affects one lot, one corner or the whole setup.
When seedlings lean towards one side or develop thin, long stems, check where the light falls. Adjust the lamp using its own guidance. If stems darken near the soil and seedlings collapse, separate the affected section, empty standing water and improve air movement. Protect the healthy cells and use clean containers for another attempt. A closed, damp tray helps the surface stay moist at sowing, but those conditions are less helpful once leaves begin to grow.
Move established seedlings into individual pots
Wait for true leaves and a small root ball that holds together. Use a plant label or spoon to support the ball from below. Avoid gripping the delicate stem. Choose an individual pot that fits the roots and allows some new growth without leaving a large mass of unused damp mix. Label the pot and check the moisture before watering, because a larger pot dries differently from a shallow cell.
Gradually increase the time the plants spend on a sheltered balcony or in the garden. Start in shade out of strong wind. Bring them back under protection if the weather turns cold. When the plants tolerate light without prolonged wilting, choose a sunny, freely draining site. A shaded hollow may take longer to warm and drain than a raised, open bed. For the next step after hardening, follow planting lavender out in the garden.
Feeding established lavender in an outdoor bed
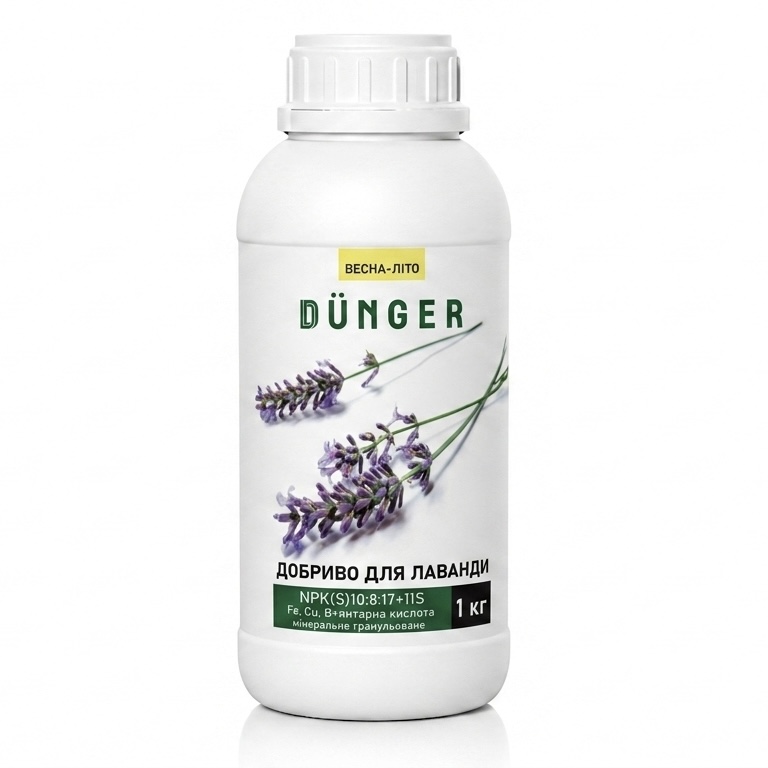
Complex fertilizer for lavender, granular
When lavender has established in the ground and an assessment shows that the bed needs the nutrients in the formulation, consider DÜNGER lavender granules. The directions describe soil application and specify stages after sowing or planting and at flowering. Check the applicable stage. Keep the product out of seed trays and do not dissolve it in water.
For a permitted application, measure the area you will treat and compare the required mass with the 0.5 and 1 kg pack sizes. Check the original pack photo, directions and price before ordering.
Frequently asked questions
Check the directions for the cultivar and the seed lot. Moist chilling may help, but for unfamiliar seed keep a reserve and compare two small batches under the same conditions.
Keep a healthy seedling. If the roots have already grown together, snip unwanted seedlings at the surface instead of pulling them up. Sow more sparsely the next time.
Seed-grown plants can vary. If a close match matters, take cuttings from a known healthy plant or buy a plant of the cultivar you want.


